Sheet Flow Construction Erosion Control

June 5, 2020

Temporary Sediment Pond on Fill

North Employee Parking Lot 1997

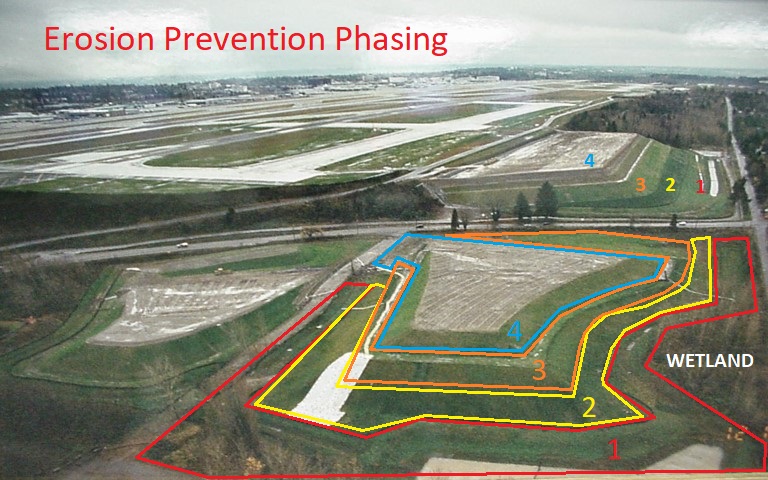
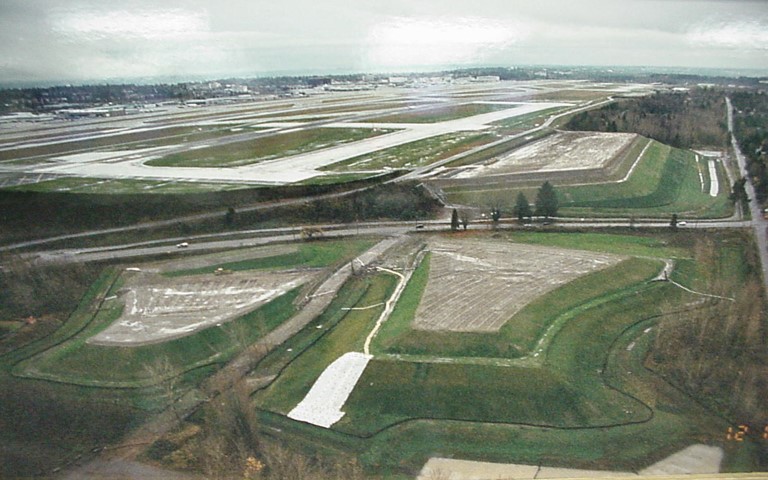
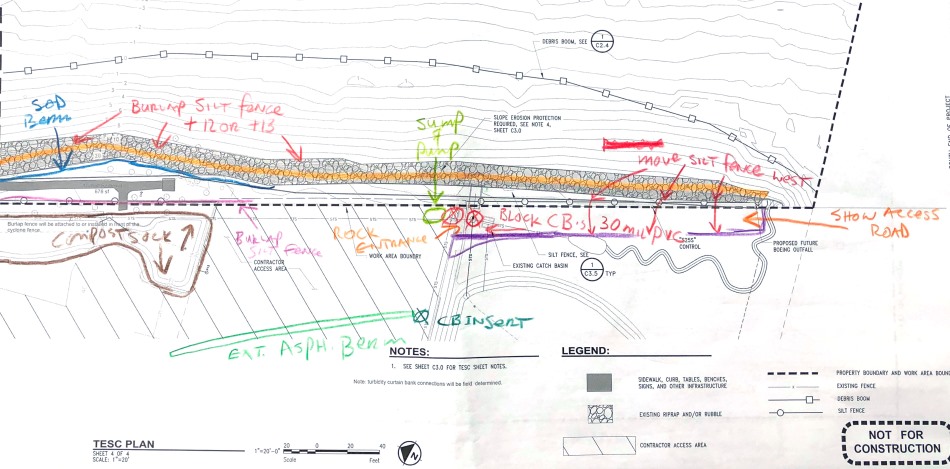
This is the temporary erosion and sediment control plan sheet for a fill project. The pond can’t be built until almost 90 feet of fill is placed. Because of this, dirty water can’t be managed until later in the project.

December 18, 2020

Prepare for Fall and Winter Rains by Preventing Erosion

This is a blast from the past. I think I wrote this in 1996 with I was the first State-wide Erosion Control Coordinator at the Washington State Dept. of Transportation.

Preventing erosion is the best preparation.  Here are some things to consider when you prepare for fall and winter rains:

Cover bare soil. Final grades can be covered with hydroseed, erosion blankets, topsoil, bark or whatever final cover is planned for the project.

Get your hydroseed contractor lined up now and avoid the October rush.

Don’t open up more than a few acres after September 1st.

Grades that aren’t being actively worked can be covered with straw at a rate of 3000 pounds per acre. This is a very cheap and effective way to protect bare soil from raindrop impacts and erosion. Hand seed before spreading the straw. Spray it with water to help hold it in place.

Track your slopes with a Cat: up and down slope, not across slope. The first helps prevent erosion, the second speeds it up.

Use flex pipe drains at bridge ends if your permanent drainage system and curbs are not in place. Collect the water from the bridge using sand bags and divert it to the pipe. Make sure the pipe is long enough to reach the bottom of the slope.

Another good way to prepare for fall and winter rains is to use a water truck and water seeded areas weekly to get quicker growth. The better the growth going into winter the better.

If you have to open up a large area, only clear and grub small areas. You can clear larger areas if you don’t grub. Roots and slash help protect the bare soil.

Walk the site looking only at erosion controls, thinking ahead of areas that could have a problem. Identify them and start making additions and corrections.

Locate all existing water flows in and around your project and find out where they drain to.

Think about maintenance and regular inspection of erosion controls. When are silt fences going to be inspected and who does it? Who removes mud from check dams? Who covers slopes with straw or other mulch?

Get materials on site now. Again beat the rush for materials in October and November when everyone is in a panic to get plastic and straw. Stockpile enough straw, plastic, silt fence, flex pipe, sand bags, seed, rock, now to cover all areas that are bare.

Set up emergency procedures now. Who should be called in emergencies? Do you have a Certified Erosion and Sediment Control Lead (CESCL)? Brief your personnel on what to do if they see muddy water and who to go to.
Make sure that erosion control material installers know proper installation methods.

Make sure all your silt fence is installed on contour with the ends flared up slope a few feet. If it is not on contour, identify the lowest points of the fence as these will be the failure spots. Install a double row of silt fence at these low spots before you have a failure. Double up your silt fence in areas where eroding slopes could flow into wetlands or streams.

Do you have bare spots where previous seeding hasn’t grown? Cover it with seed and straw if the area is small, remobilize the hydroseeder for larger areas.

Make sure all catch basins within the project boundary are protected with inserts, fence surrounds, or other methods to keep mud out. Locate any catchbasins outside project boundaries that may receive water from your site and protect them.

Make sure that you have a copy of the  Temporary Erosion and Sediment Control plan (TESC) and any grading or environmental permits on site in the job shack. Know what they say. Give each inspector a copy of the TESC to keep in their truck. These are working copies that can be adapted to site conditions.

Modify your permanent stormwater ponds into temporary sediment ponds by installing a standpipe and blocking the outlet with sand bags. Cut a few small holes in the standpipe to allow for slow release of water. You can also use perforated pipe as the standpipe and hold it in place with “T” posts, wire, and gravel piled up around it.

Use geotextile fabric as a temporary ditch lining to protect bare soil from erosion. Hold the fabric in place with rock check dams, wooden stakes, or sand bags.

Make sure that all check dams are installed so that the top center point is lower than the bottom end points. This prevents end-cutting. You may have to add more material to the dam to increase the width, especially on wide ditches with shallow grade side slopes.

Now you know how to prepare for fall and winter rains: Prevent Erosion

December 17, 2020

I-66 Highway Erosion

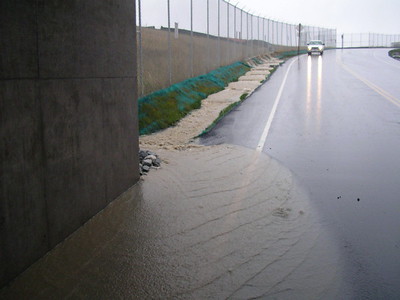
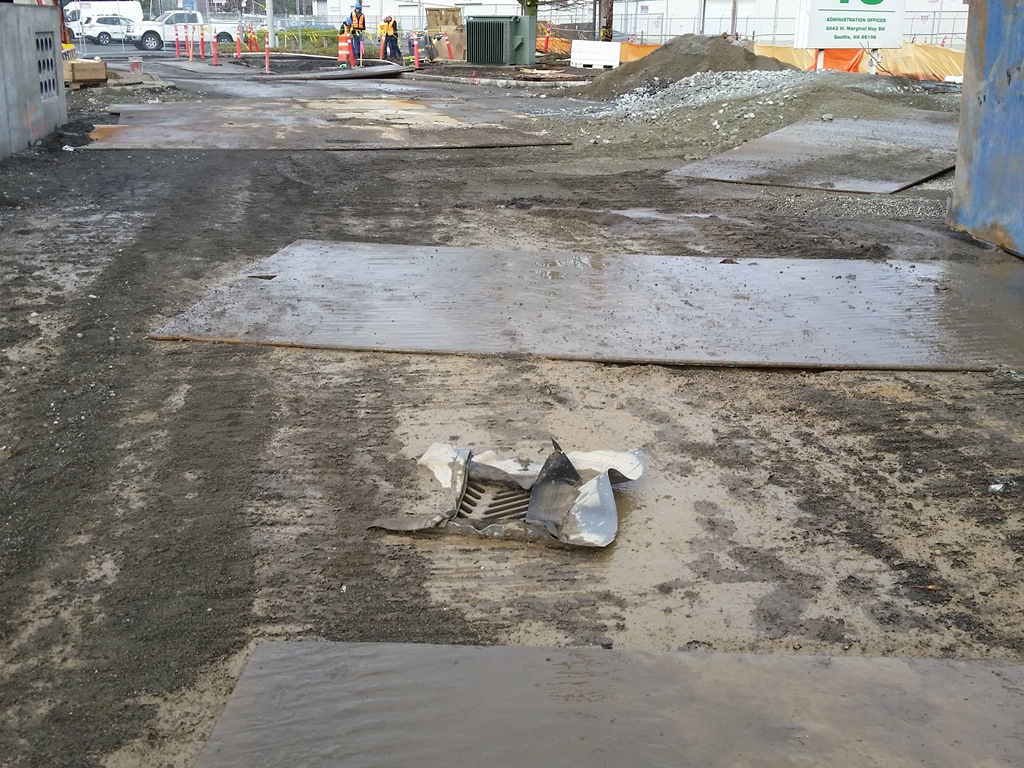
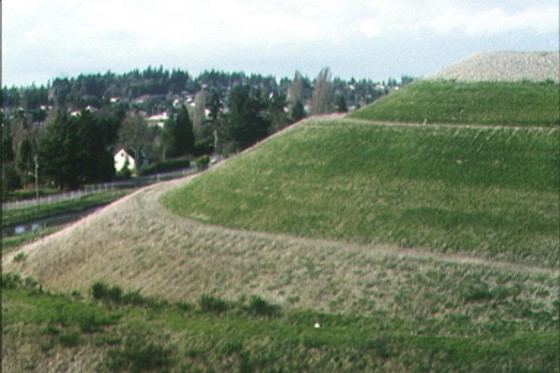
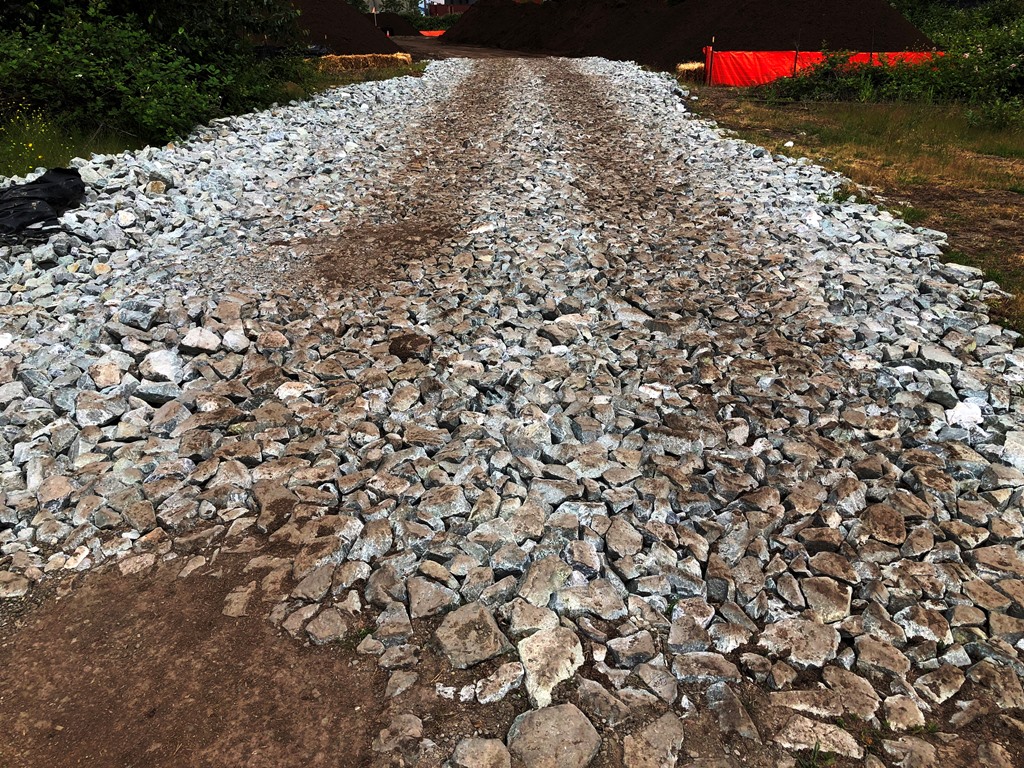
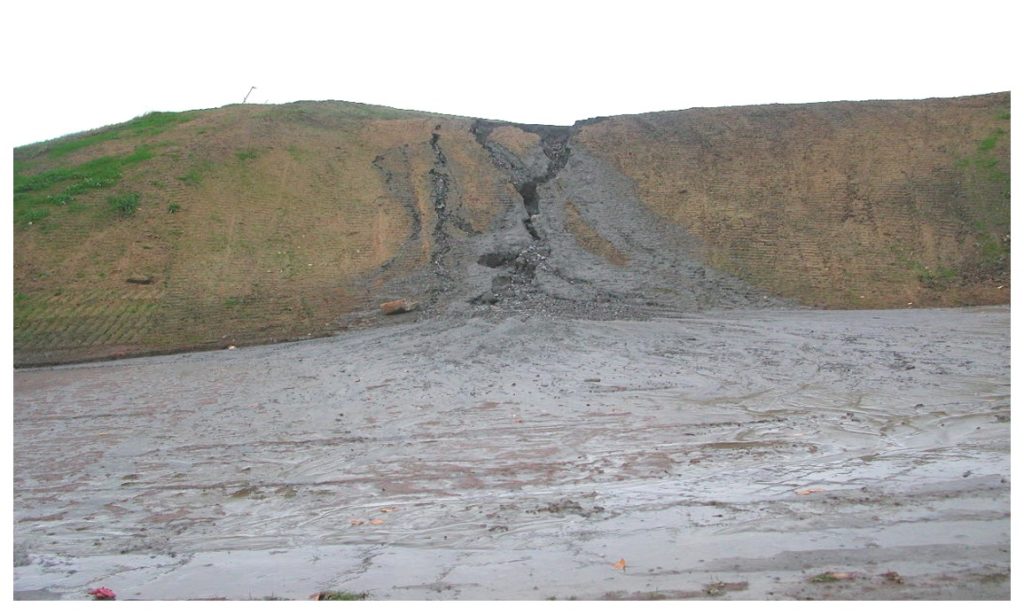
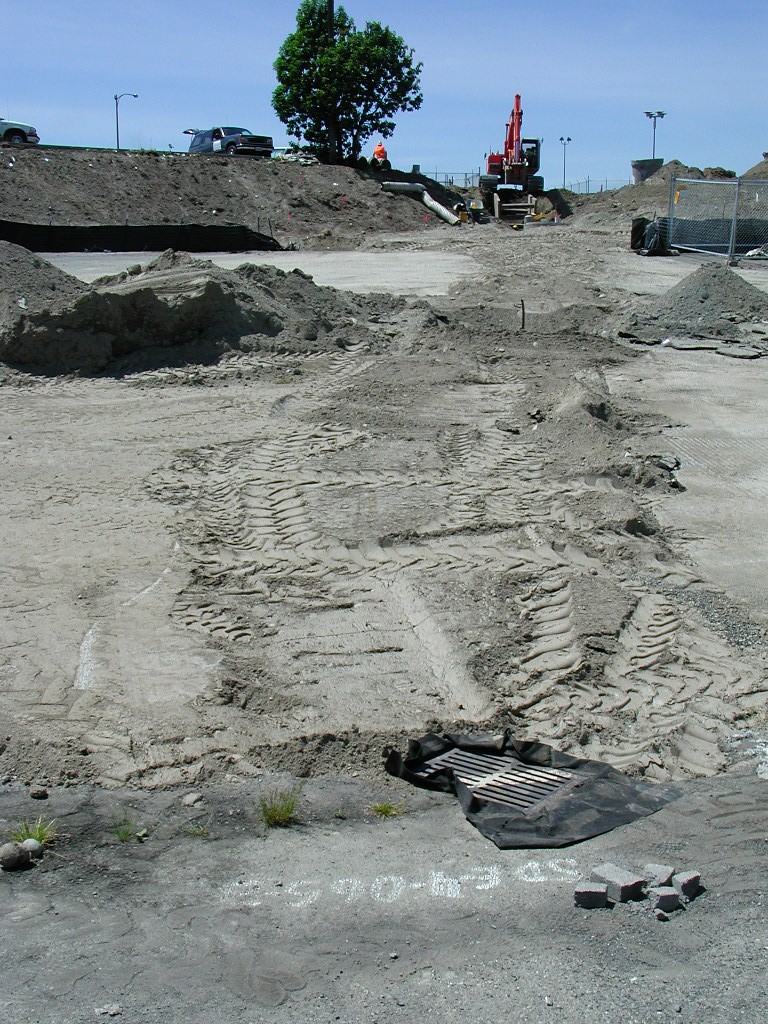
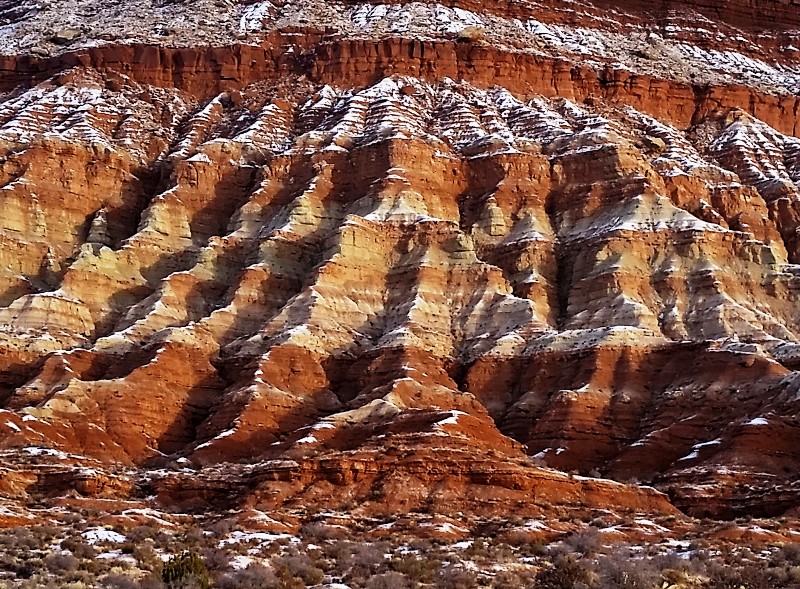
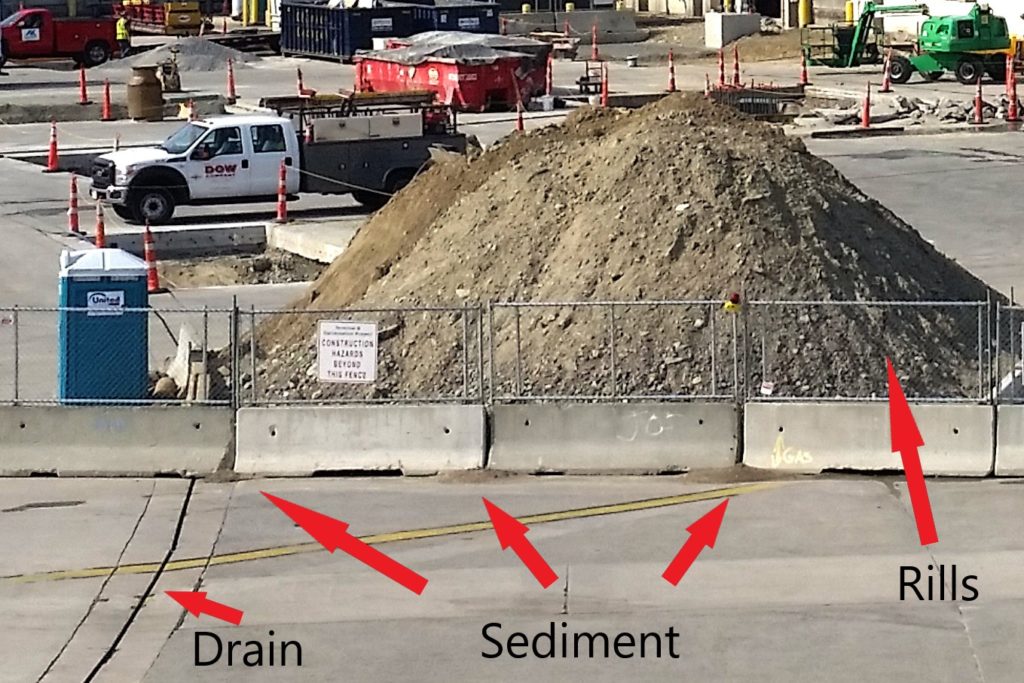
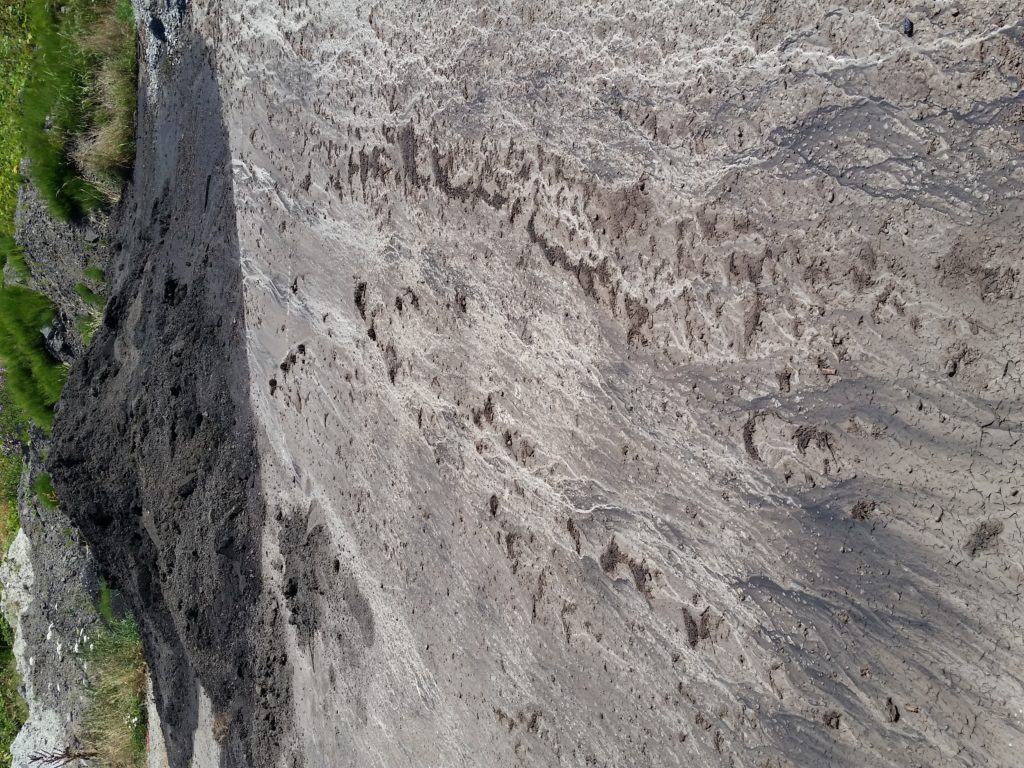
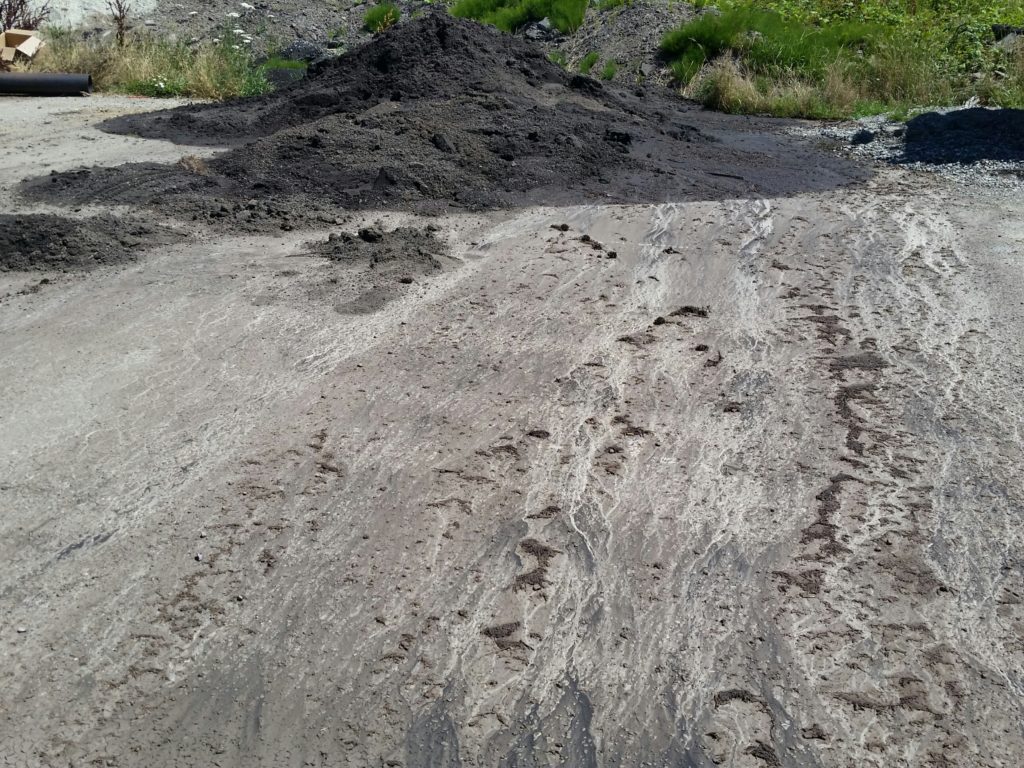
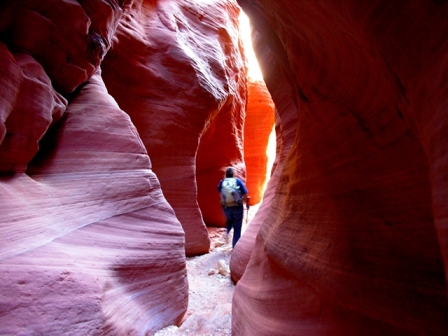
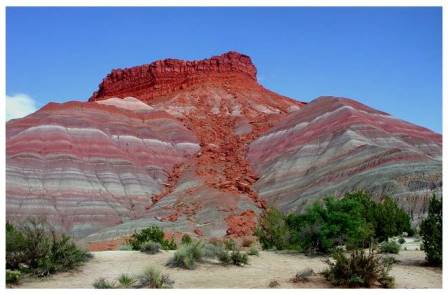
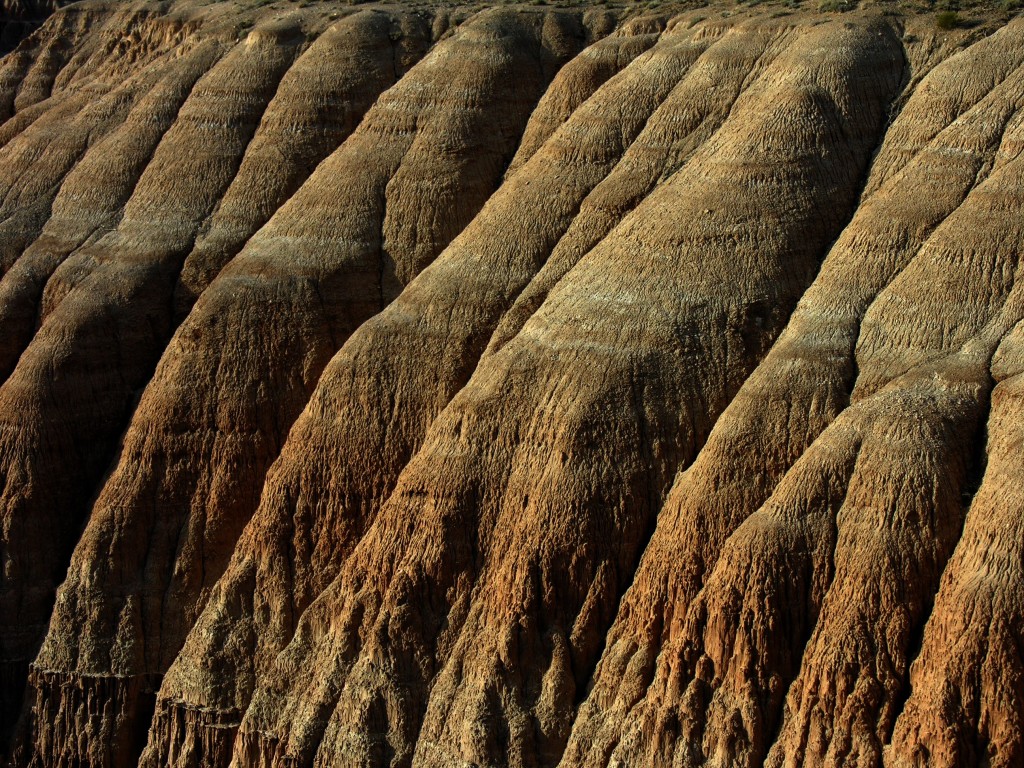
On this I-66 highway project, the main cause of the slope erosion and rills is clean runoff from the highway. I assume there were curbs along the road edge that at some point were removed. I would restore permanent or temporary curbs to direct clean water to catch basins.

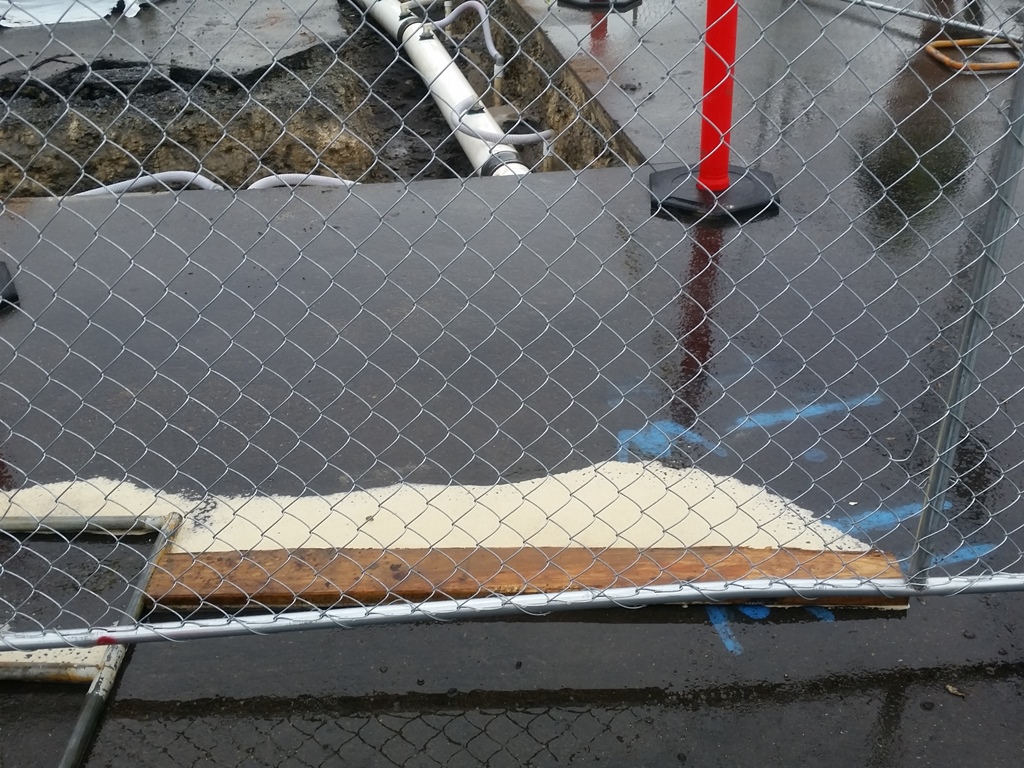
I might leave the slopes uncovered. This would depend on what phase of construction this project is in. If it is in shutdown, I would cover with plastic ( I hate using plastic because it ends up in the landfill), or some type of erosion blanket. I might even consider spraying the slope with polyacrylamide and not covering it.

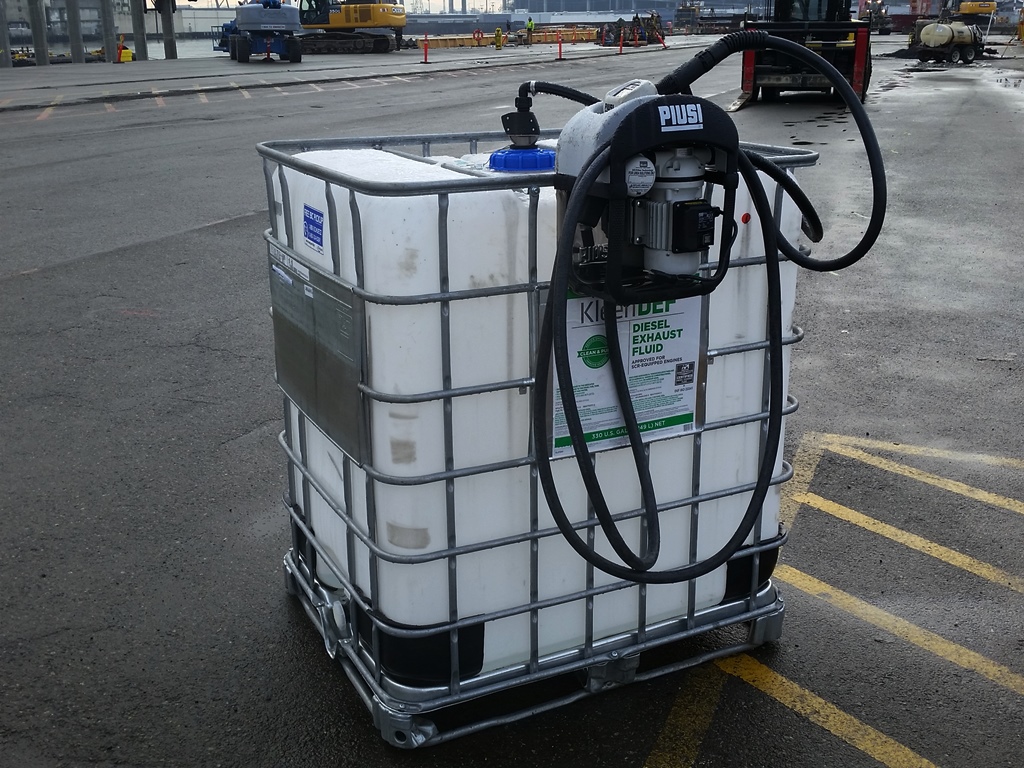
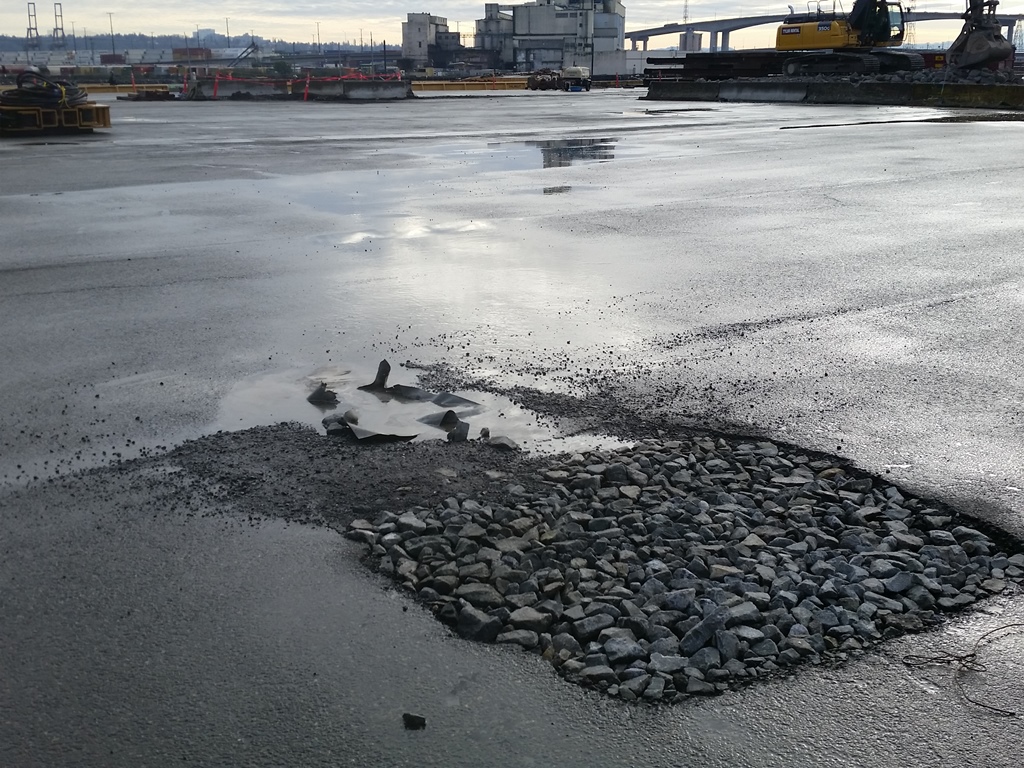
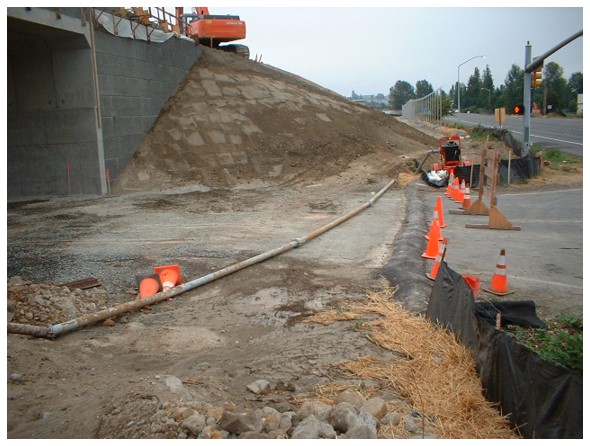
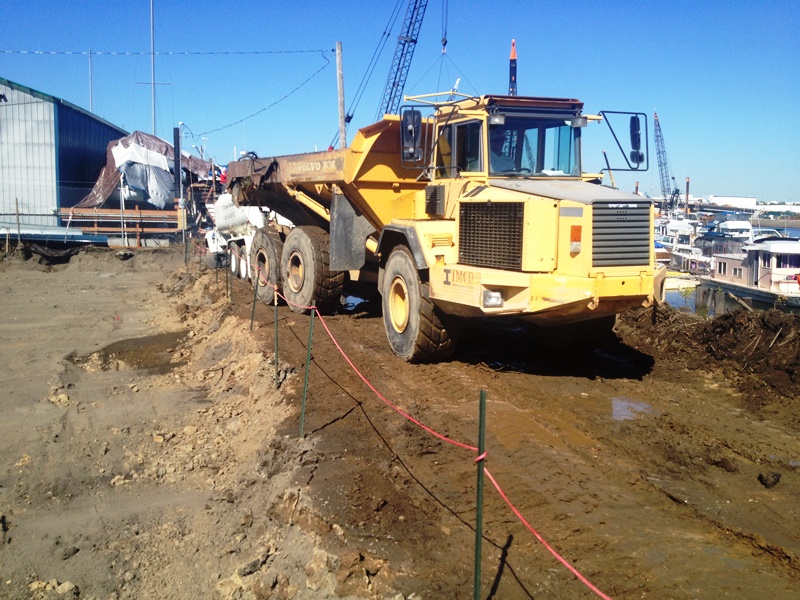
I do like how the area at the base of the slope is lower than the road to the left so it acts like a sediment pond. Rather than pump to a geotextile bag, I would set up a chitosan-enhanced sand filtration (CESF) treatment system, treat and discharge clean water to the catch basin. Or, if the state environmental agency allows, I would use a gel-floc passive treatment system instead.
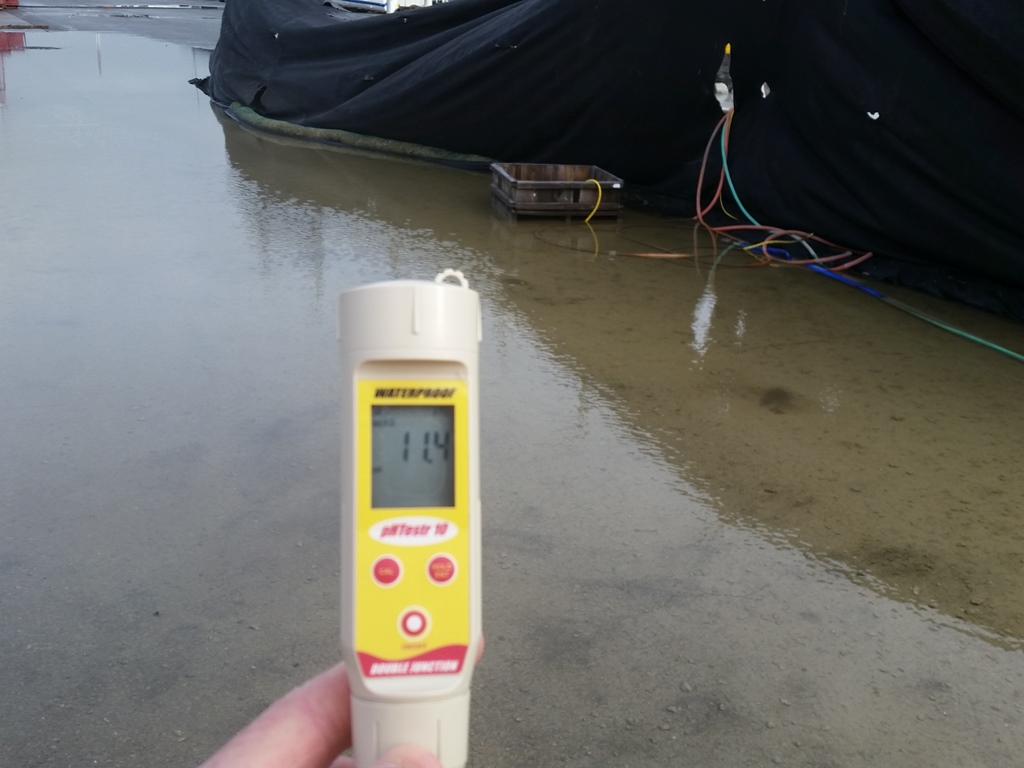
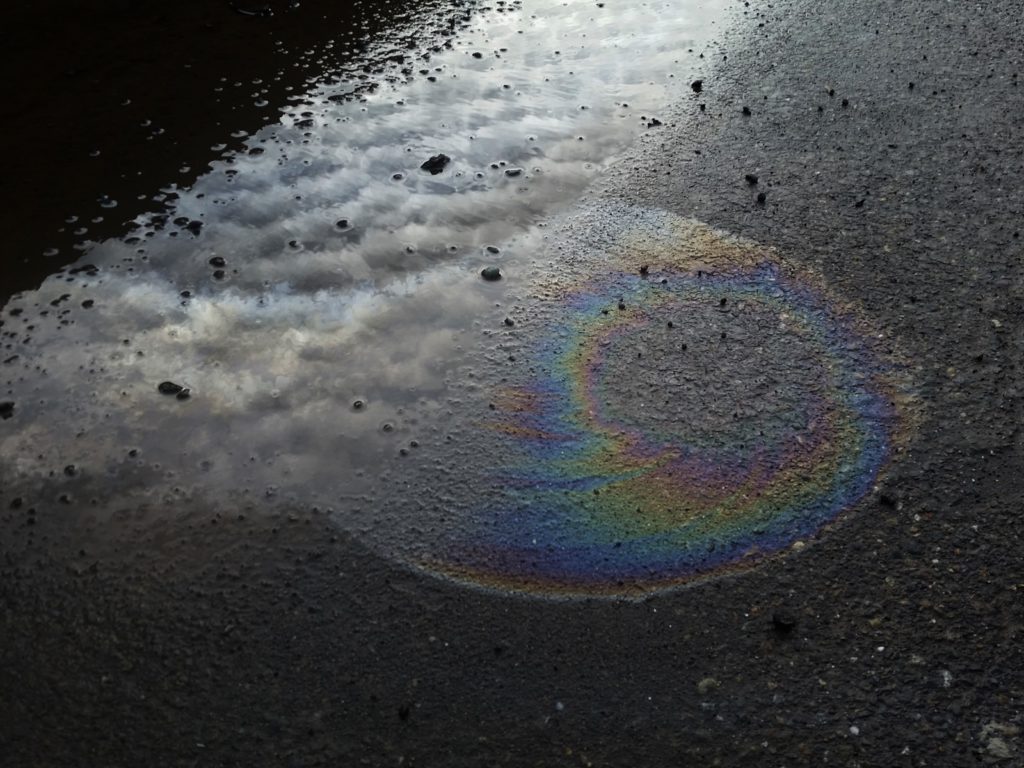
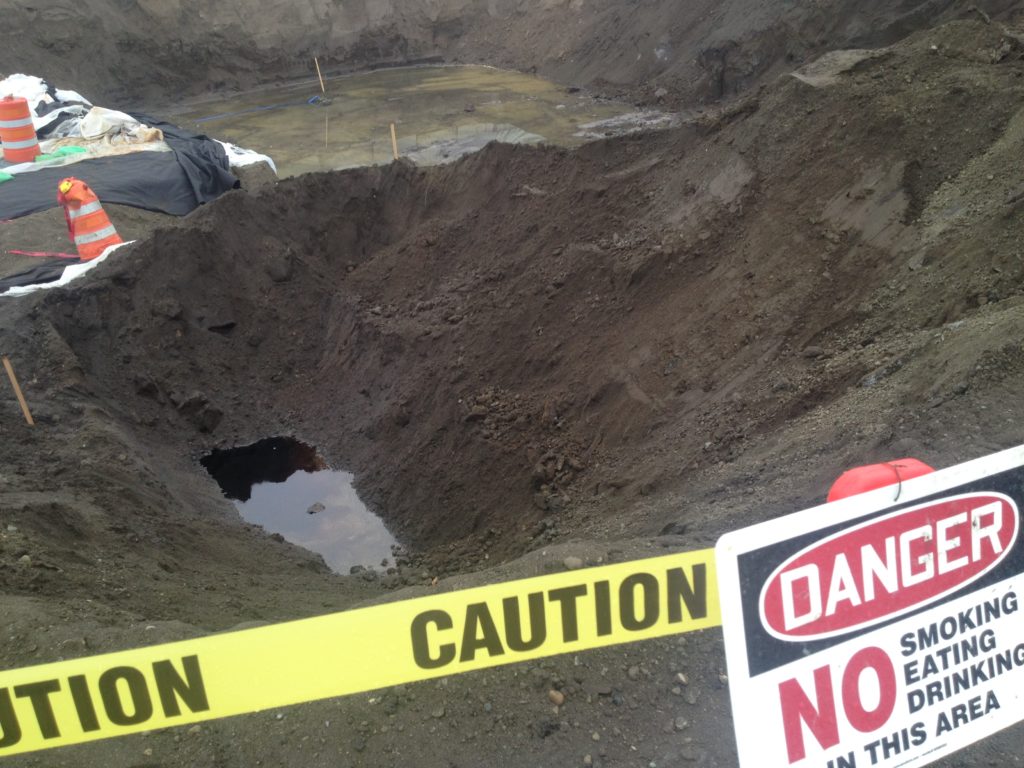
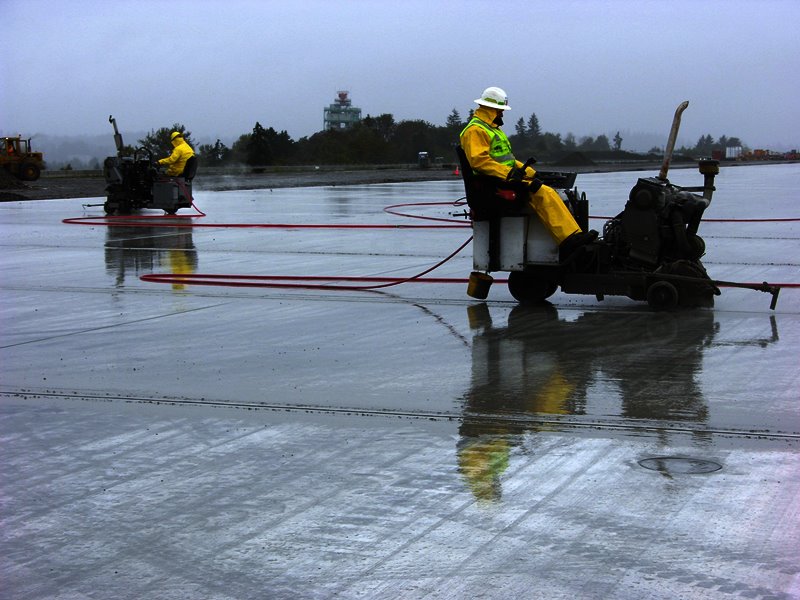
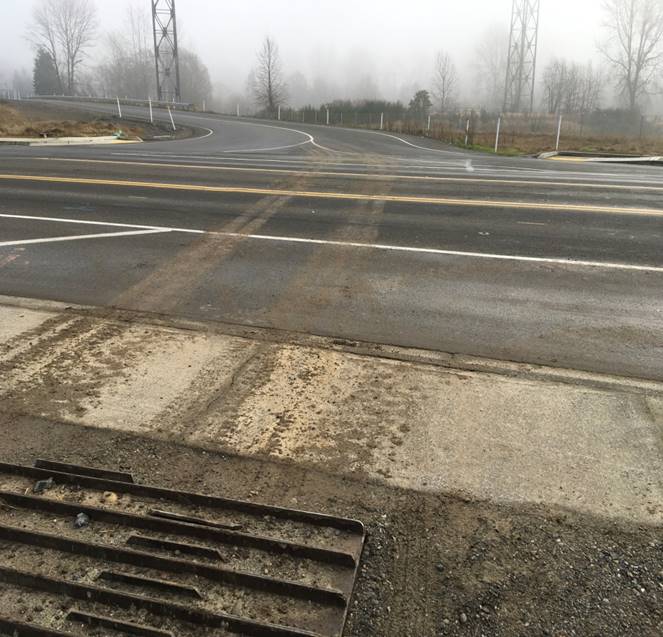
June 1, 2020

Lake Emelia in Port Orchard

Video: Kitsap Sun

This was a 2 inch in 24 hour storm, or about a 2 year storm event, which should have been pretty easily contained if the pond had been designed as a temporary sediment pond for use during construction. Also, they should have had a construction stormwater treatment system set up to treat for turbidity. There really is no excuse for this. Poor planning.

November 26, 2015

Rainy Season Preparation

Dirty Water Flowing in Ditch

Preparing for the Rainy Season
David S. Jenkins
WSDOT Statewide Erosion Control Coordinator
September 1997

Now that the El Nino has ended and the La Nina has begun, the National Weather Service is predicting a much wetter fall and winter than normal. So, what are some things you can do now to prepare? How about: (more…)

September 4, 2012

Prepare for Fall and Winter Rains

Winter is approaching, now is the time to get construction projects ready. Here are some things to consider:

Cover bare soil. Final grades can be covered with hydroseed, erosion blankets, topsoil, bark or whatever final cover is planned for the project.

Get your hydroseed contractor lined up now and avoid the October rush.

Don’t open up more than a few acres after September 1st.

Grades that aren’t being actively worked can be covered with straw at a rate of 1500 pounds per acre. This is a very cheap and effective way to protect bare soil from raindrop impacts and erosion. Hand seed before spreading the straw. Spray it with water to help hold it in place.

Track your slopes with a Cat: up and down slope, not across slope. The first helps prevent erosion, the second speeds it up.

Use flex pipe drains at bridge ends if your permanent drainage system and curbs are not in place. Collect the water from the bridge using sand bags and divert it to the pipe. Make sure the pipe is long enough to reach the bottom of the slope.

Use a water truck and water seeded areas weekly to get quicker growth. The better the growth going into winter the better.

If you have to open up a large area, only clear and grub small areas. You can clear larger areas if you don’t grub. Roots and slash help protect the bare soil.

Walk the site looking only at erosion controls, thinking ahead of areas that could have a problem. Identify them and start making additions and corrections.

Locate all existing water flows in and around your project and find out where they drain to.

Think about maintenance and regular inspection of erosion controls. When are silt fences going to be inspected and who does it? Who removes mud from check dams? Who covers slopes with straw or other mulch?

Get materials on site now. Again beat the rush for materials in October and November when everyone is in a panic to get plastic and straw. Stockpile enough straw, plastic, silt fence, flex pipe, sand bags, seed, rock, now to cover all areas that are bare.

Set up emergency procedures now. Who should be called in emergencies? Do you have a WSDOT certified Erosion and Spill Control Lead? Brief your personnel on what to do if they see muddy water and who to go to.
Make sure that erosion control material installers know proper installation methods.

Make sure all your silt fence is installed on contour with the ends flared up slope a few feet. If it is not on contour, identify the lowest points of the fence as these will be the failure spots. Install a double row of silt fence at these low spots before you have a failure. Double up your silt fence in areas where eroding slopes could flow into wetlands or streams.

Do you have bare spots where previous seeding hasn’t grown? Cover it with seed and straw if the area is small, remobilize the hydroseeder for larger areas.

Make sure all catch basins within the project boundary are protected with inserts, fence surrounds, or other methods to keep mud out. Locate any catchbasins outside project boundaries that may receive water from your site and protect them.

Make sure that you have a copy of the Stormwater Site Plan (SSP) and Temporary Erosion and Sediment Control plan (TESC) and any grading or environmental permits on site in the job shack. Know what they say. Give each inspector a copy of the SSP and TESC to keep in their truck. These are working copies that can be adapted to site conditions.

Modify your permanent stormwater ponds into temporary sediment ponds by installing a standpipe and blocking the outlet with sand bags. Cut a few small holes in the standpipe to allow for slow release of water. You can also use perforated pipe as the standpipe and hold it in place with “T” posts, wire, and gravel piled up around it.

Use geotextile fabric as a temporary ditch lining to protect bare soil from erosion. Hold the fabric in place with rock check dams, wooden stakes, or sand bags.

Make sure that all check dams are installed so that the top center point is lower than the bottom end points. This prevents endcutting. You may have to add more material to the dam to increase the width, especially on wide ditches with shallow grade side slopes

September 27, 2020

Erosion Control Photos

Filed under: — Sheetflow @ 3:49 pm

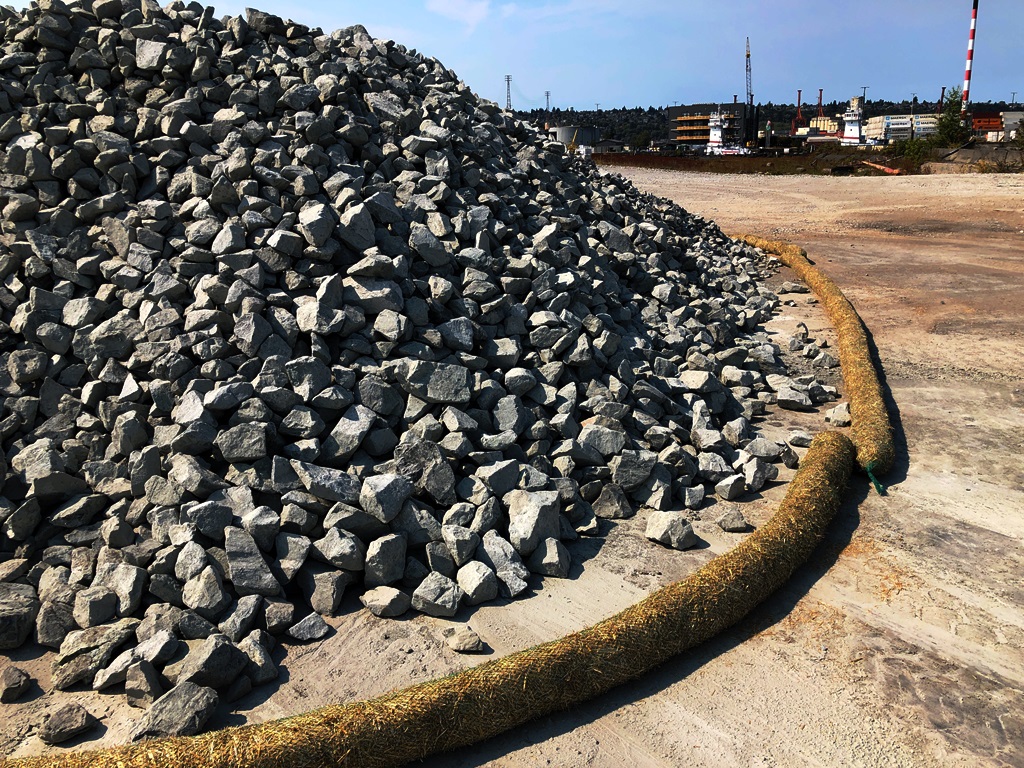
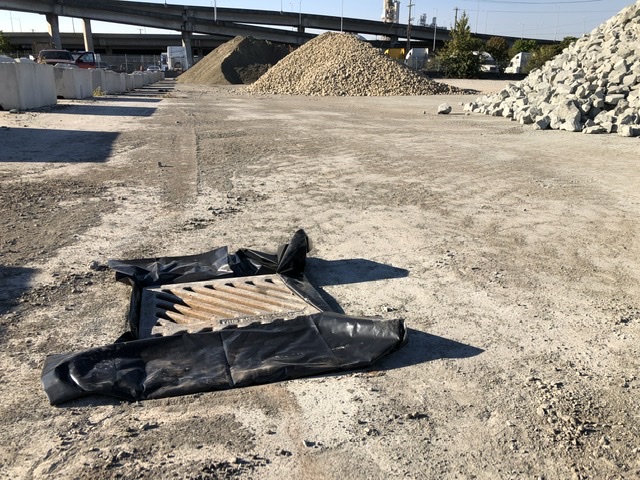
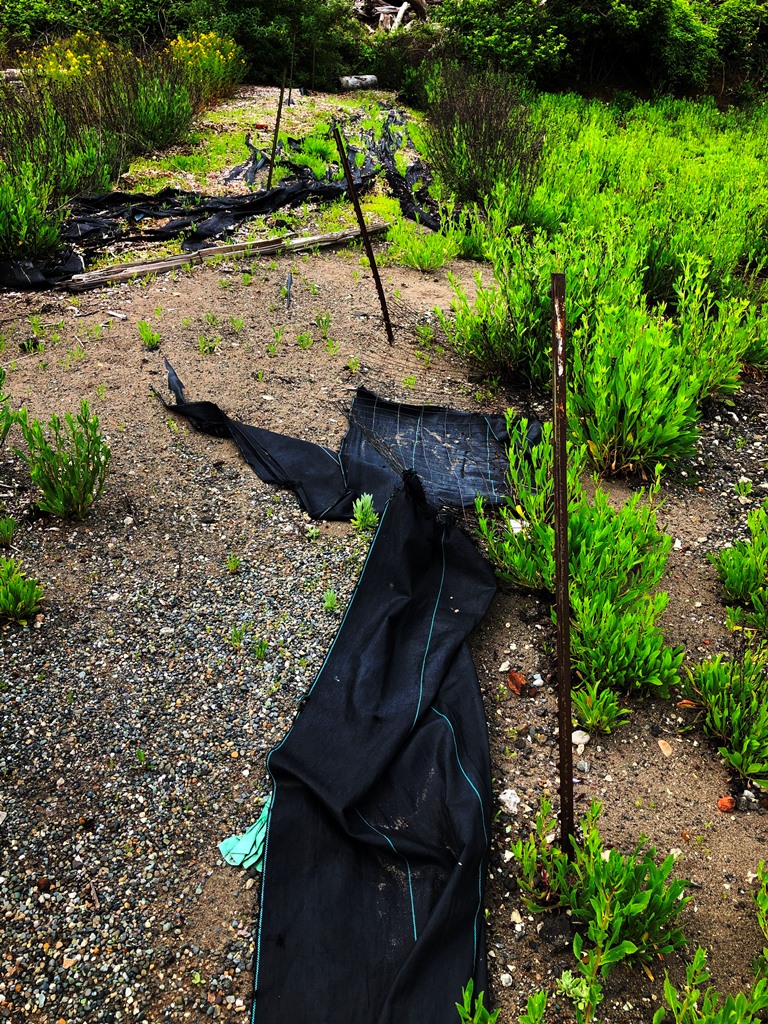
All photos may be used for teaching and training purposes with attribution to: David Jenkins, sheetflow.com

Photos may not be used for commercial purposes without prior express permission from David Jenkins, sheetflow.com

July 7, 2020

Sed Cage

Photo: David Jenkins

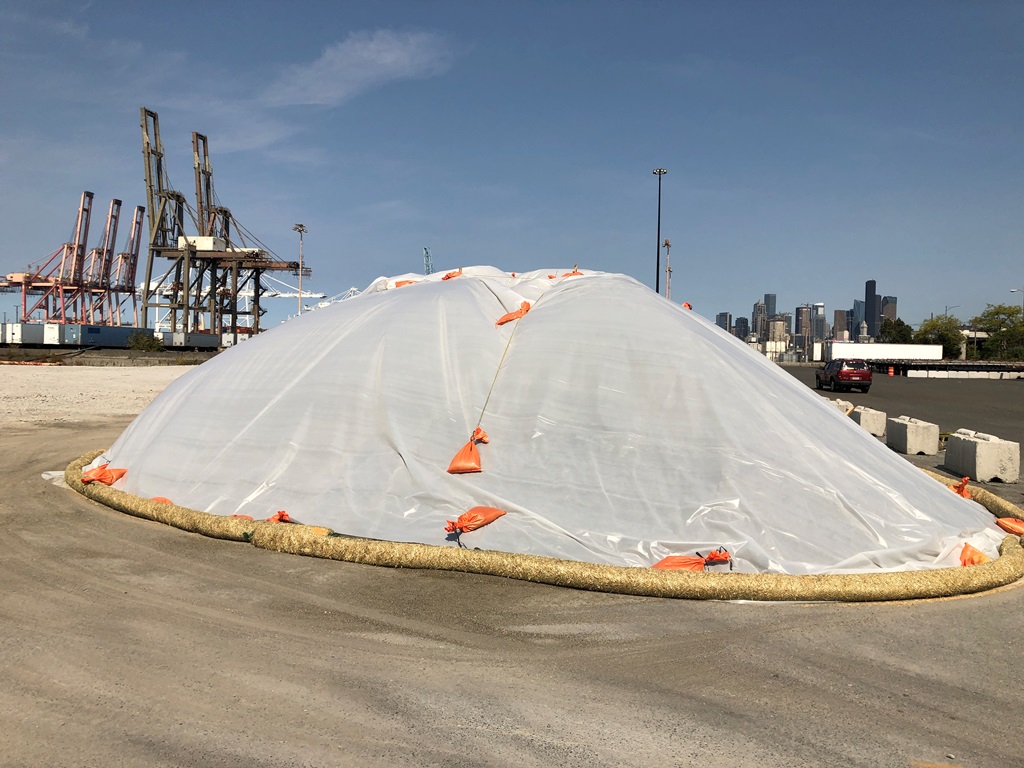
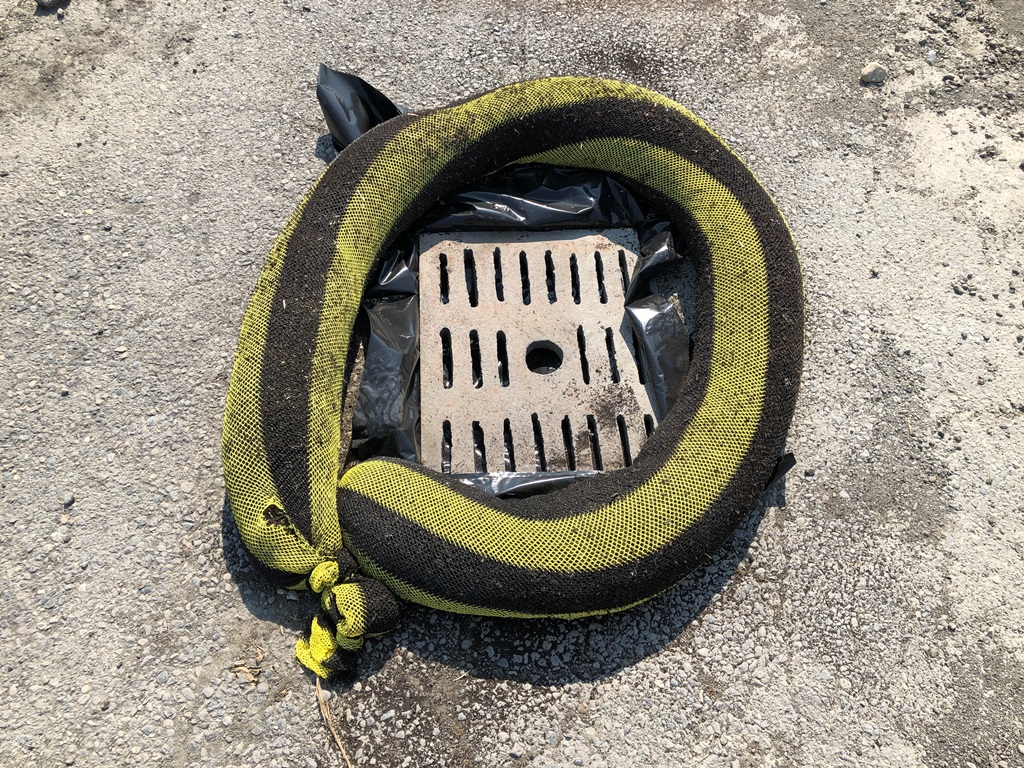
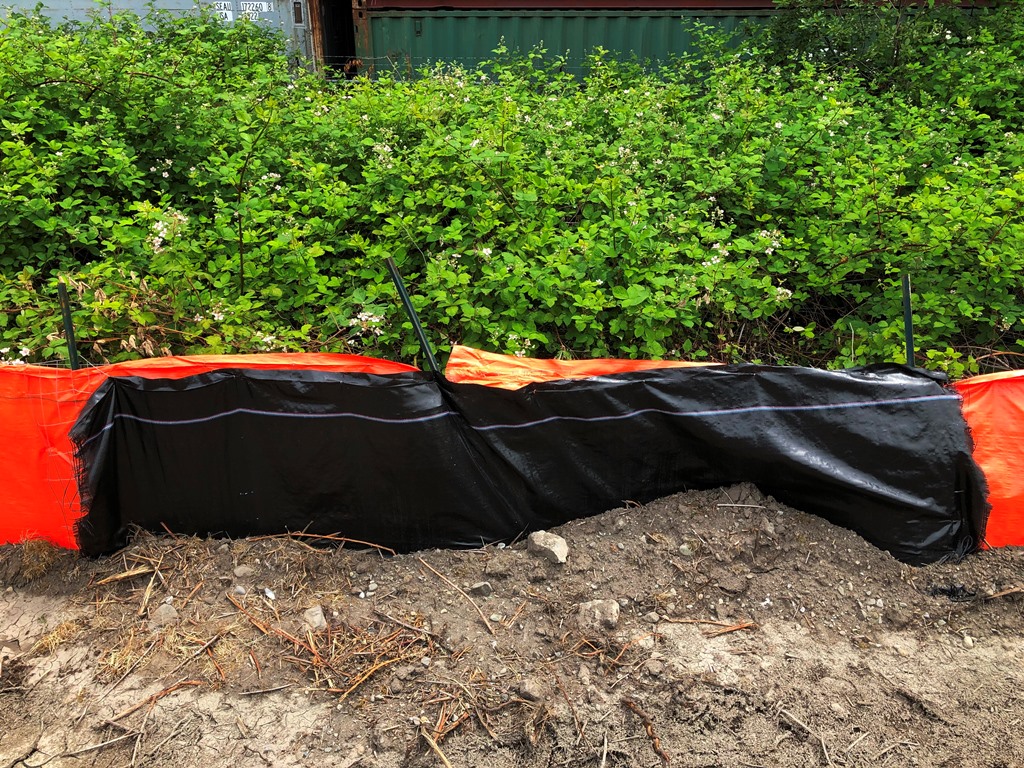
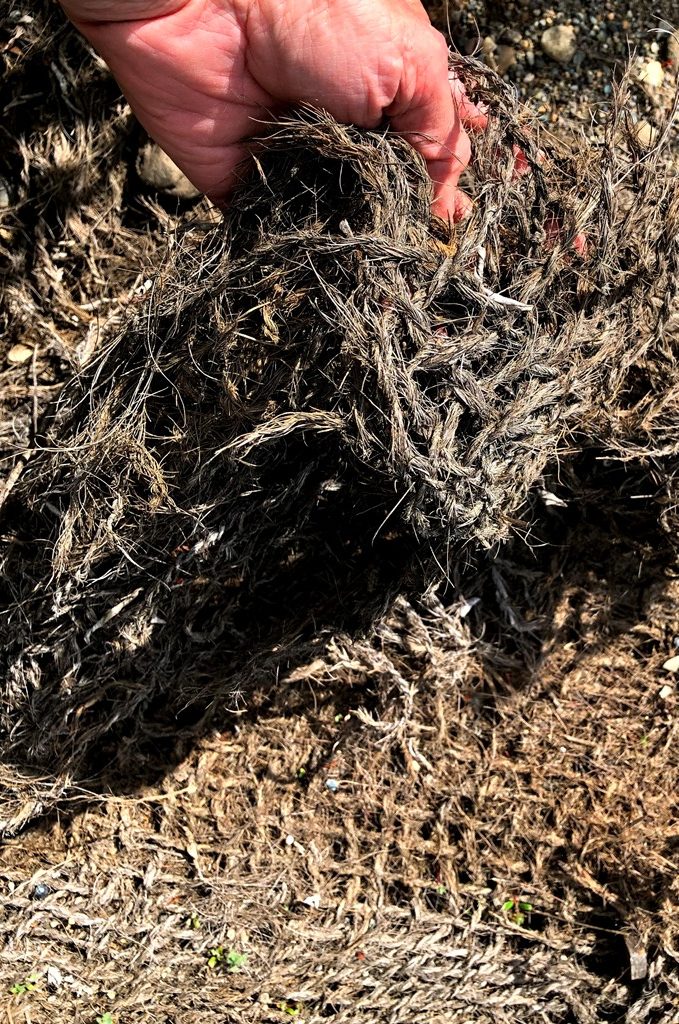
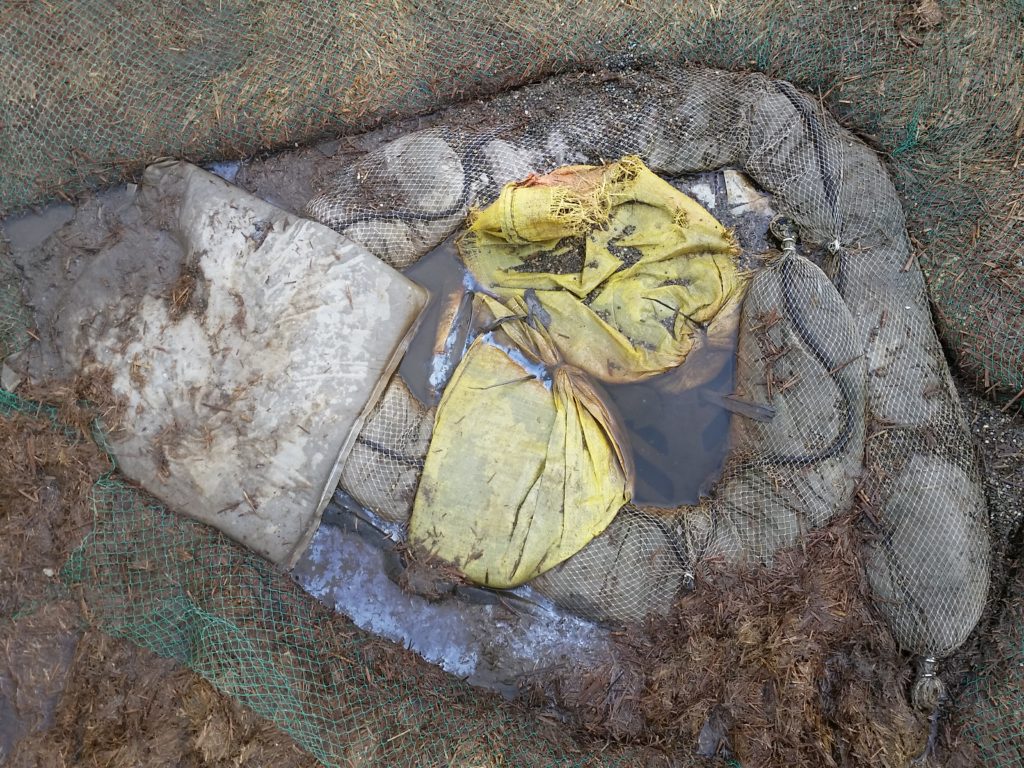
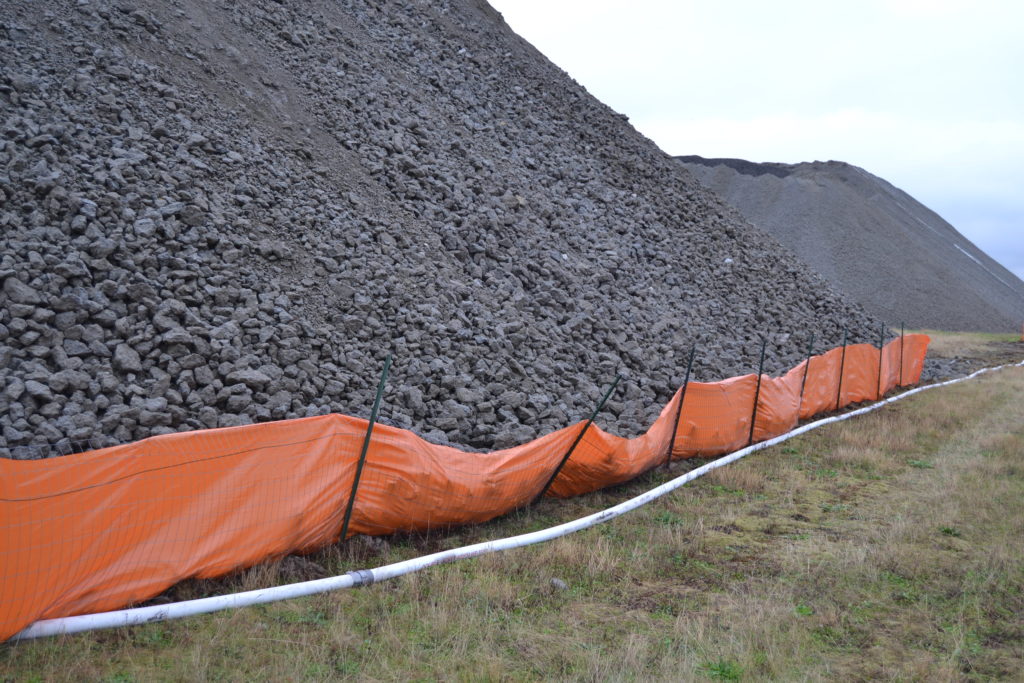
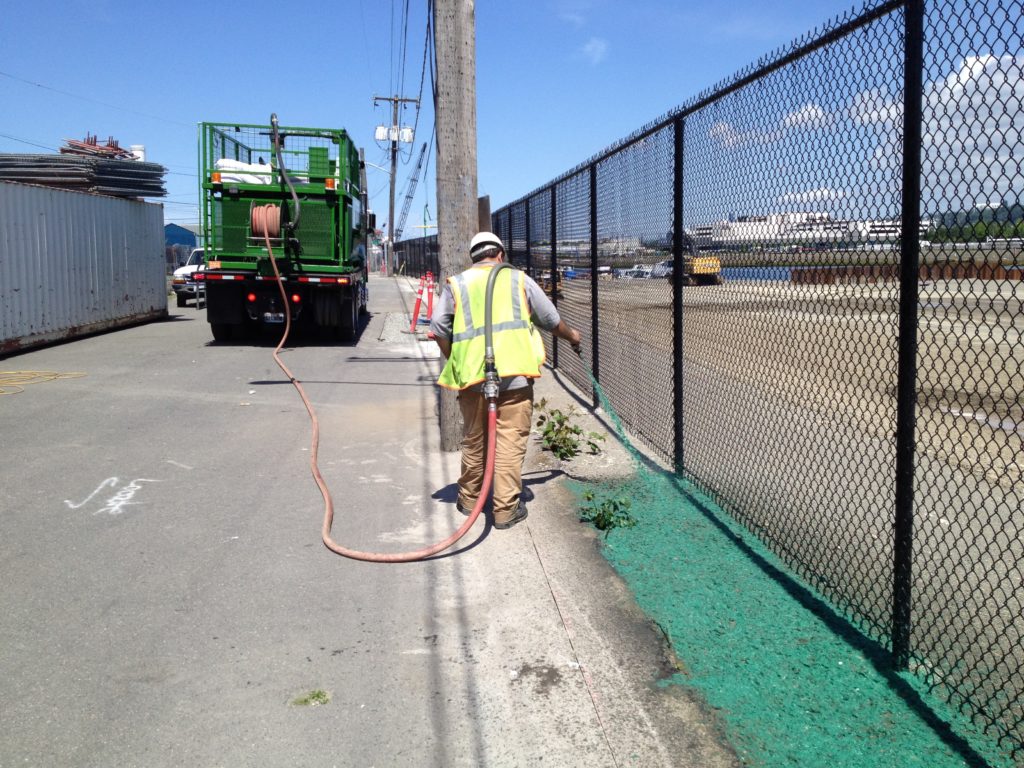
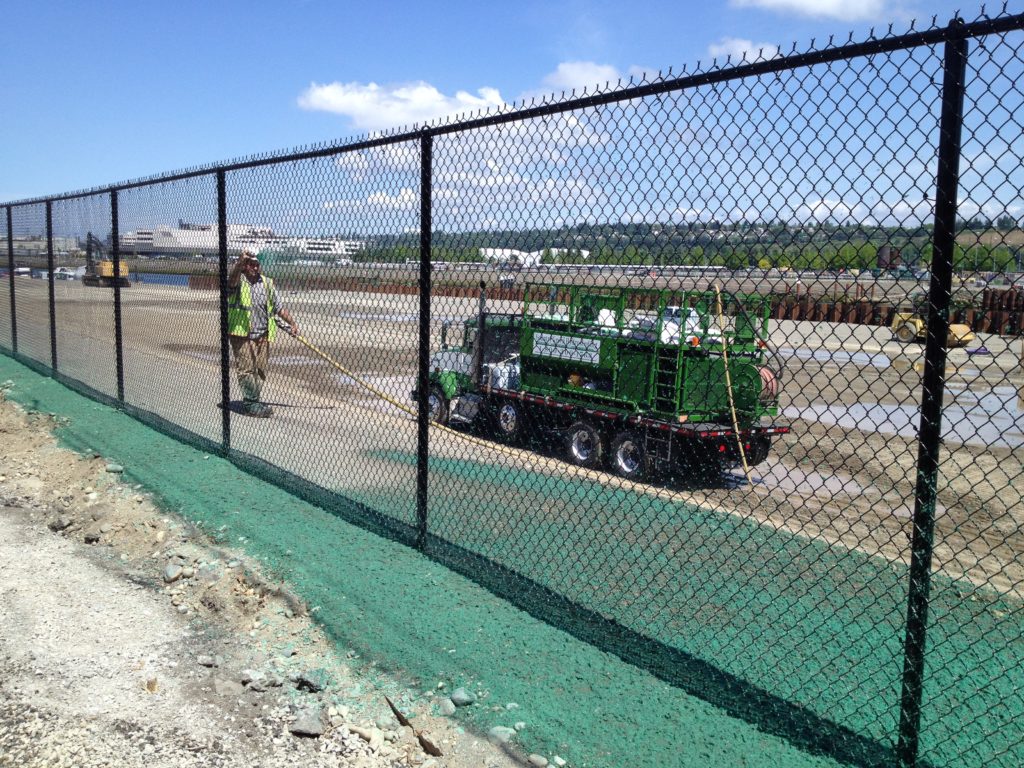
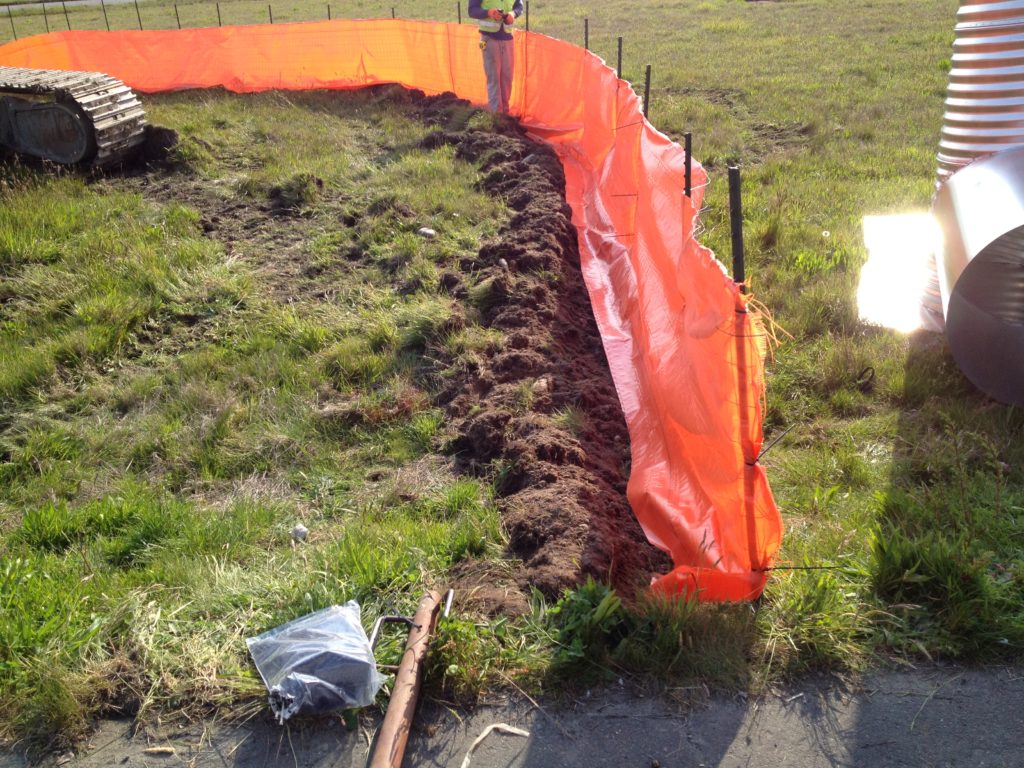
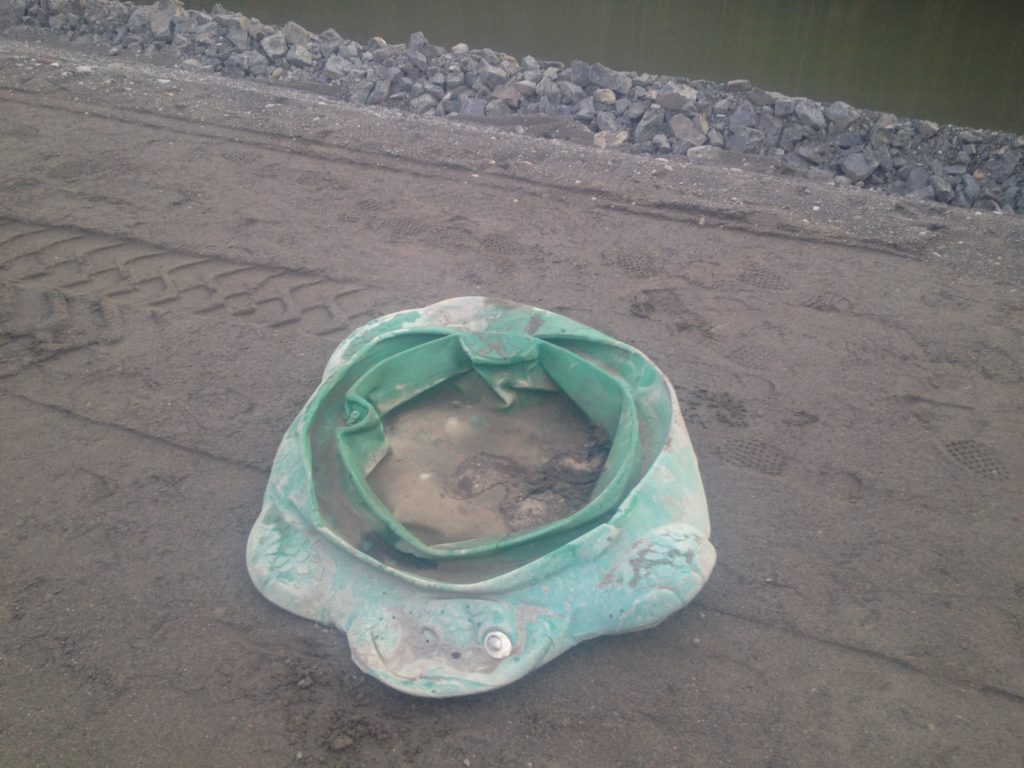
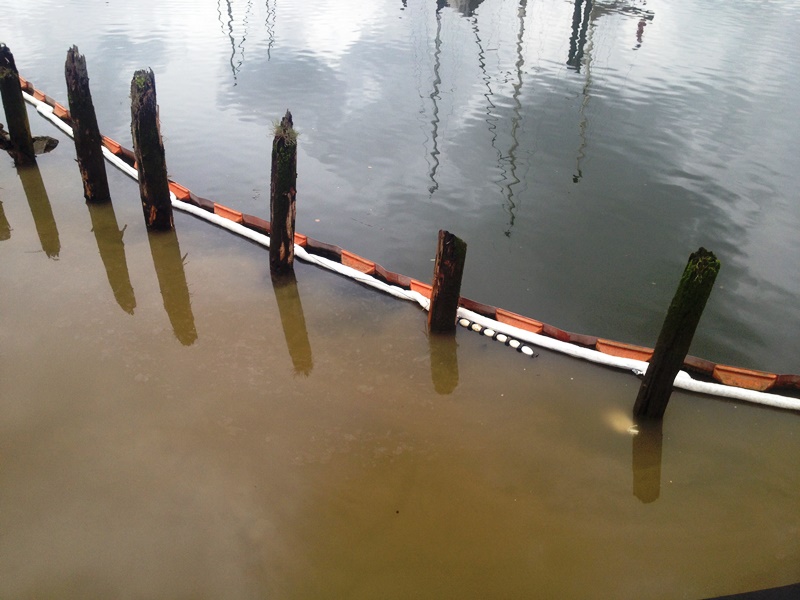
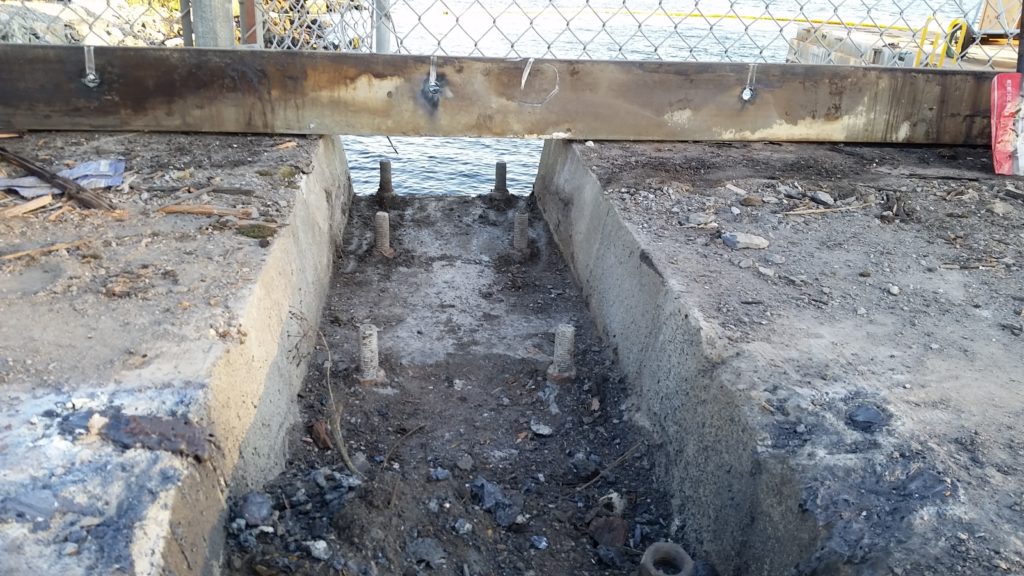
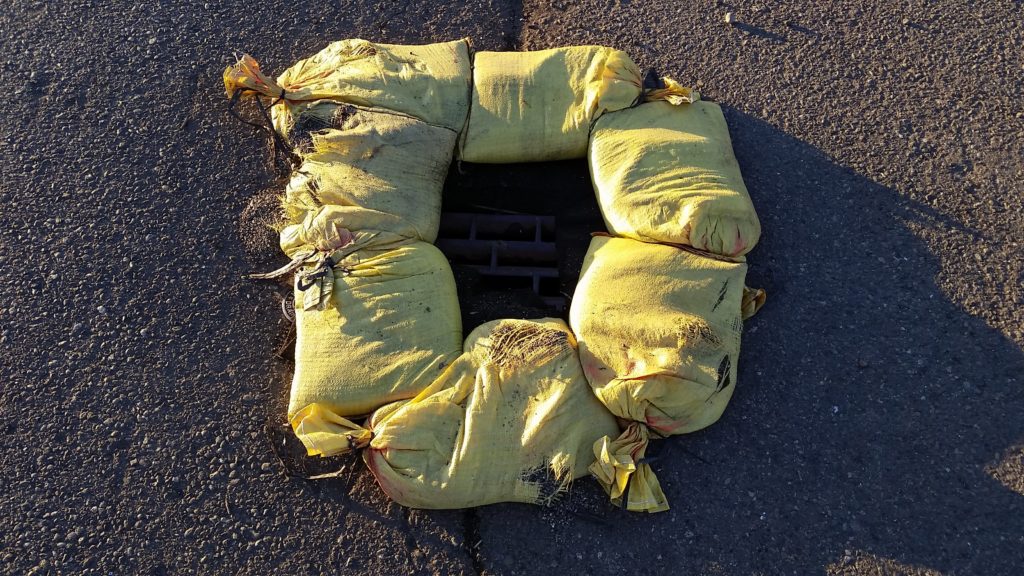
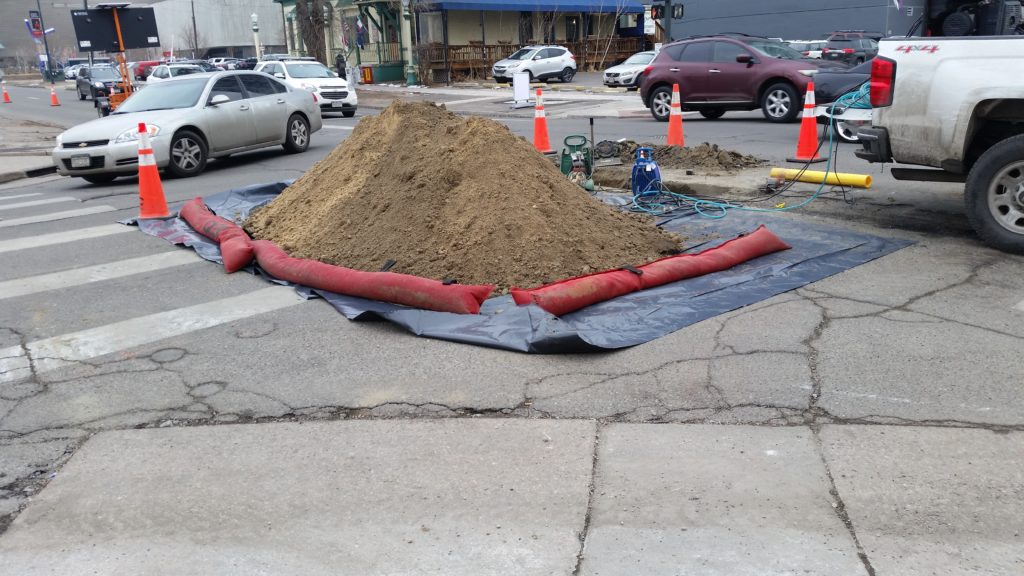
Sed Cage is a catch basin protection best management practice that seems to work well at ponding water so sediment can settle out. The Sed Cage filters sediment but plugs up, becoming a barrier. It can an be reused if taken care of and cleaned after each use.

June 20, 2018

Pump Plug and Infiltration

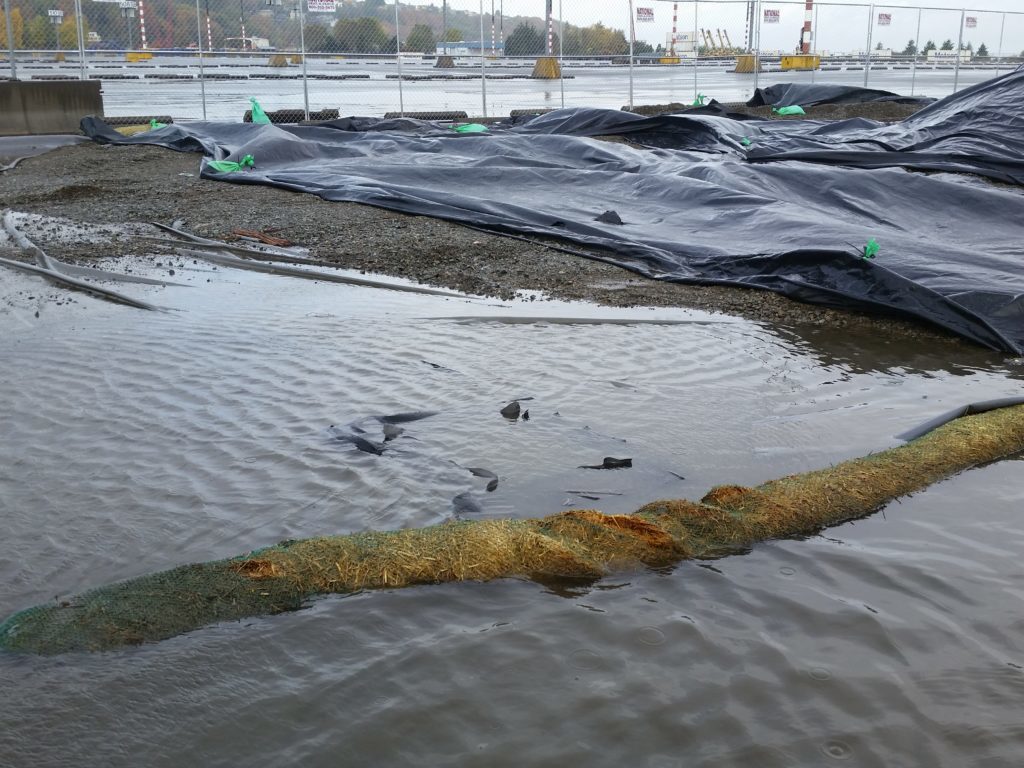
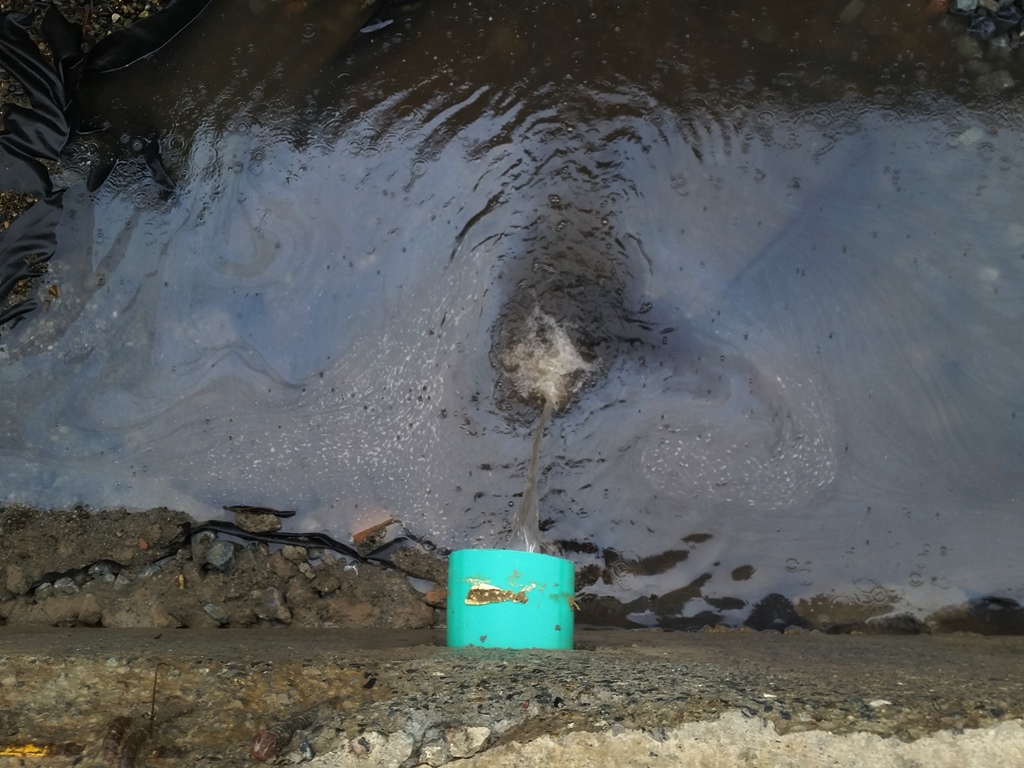
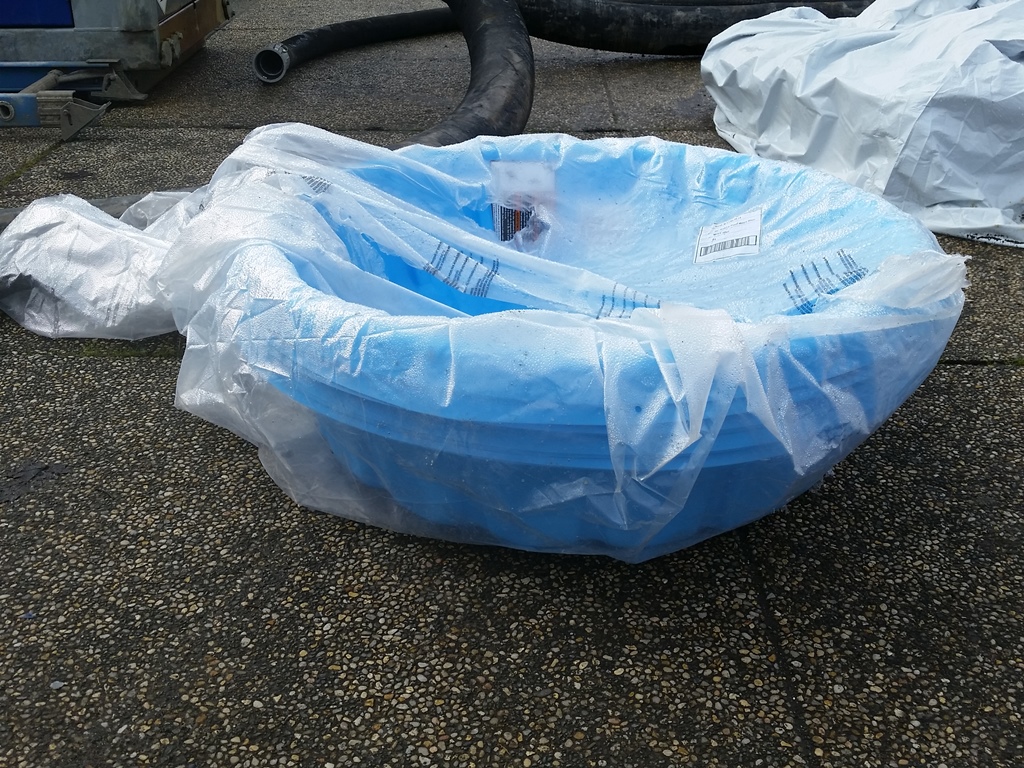
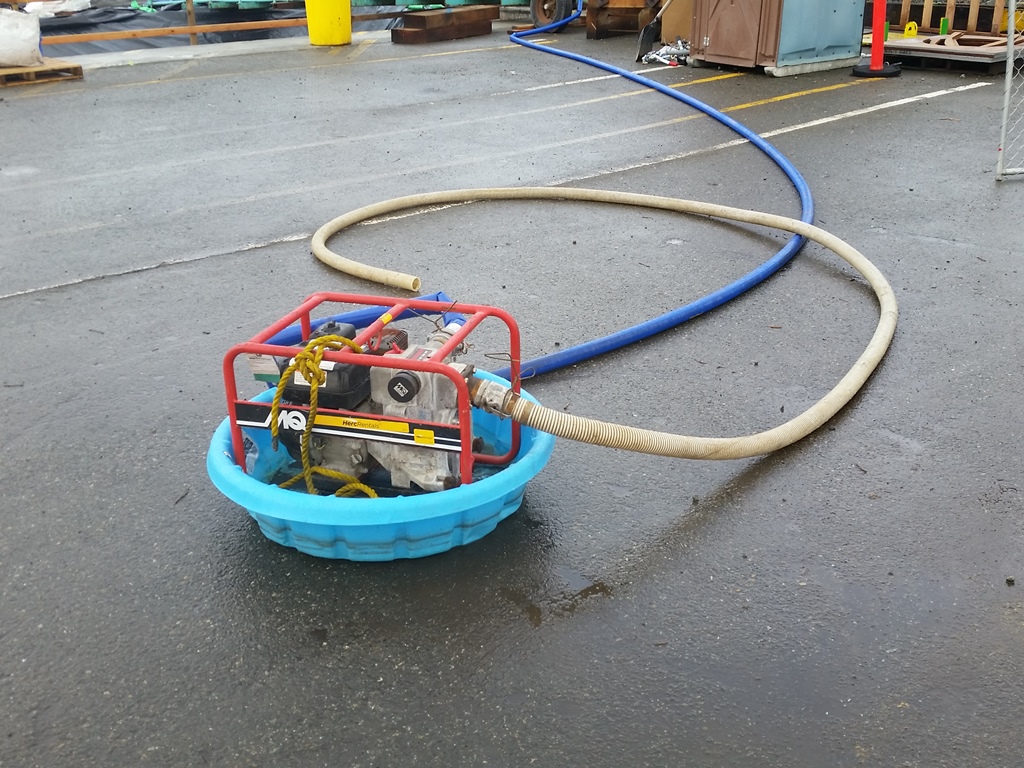
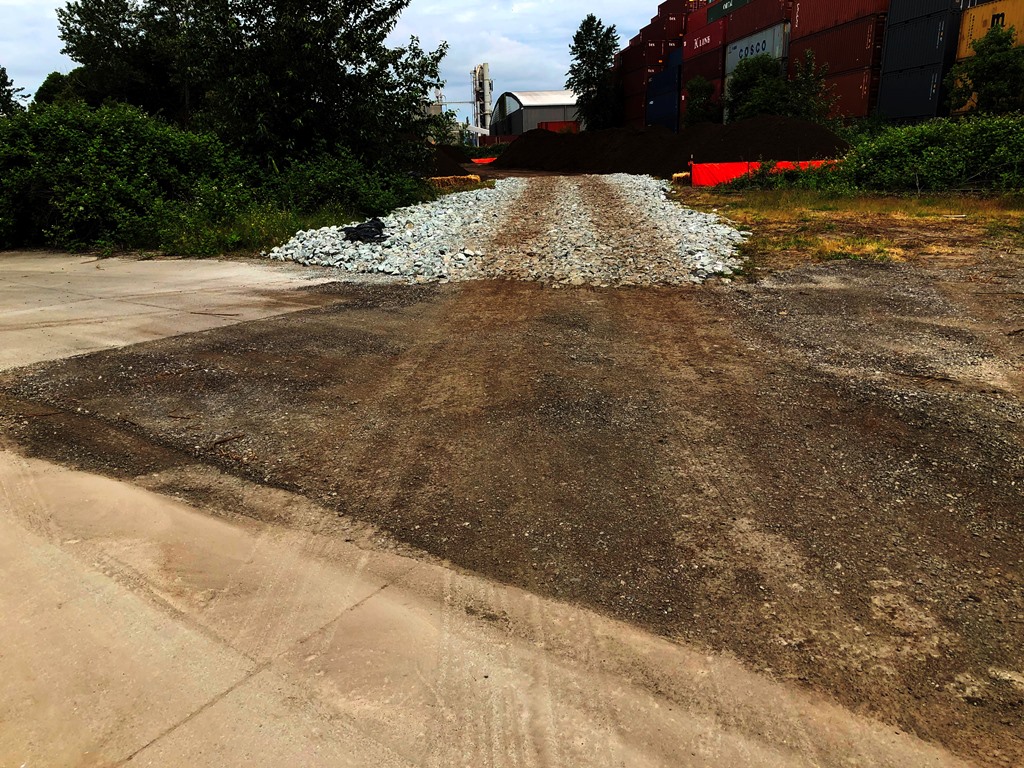
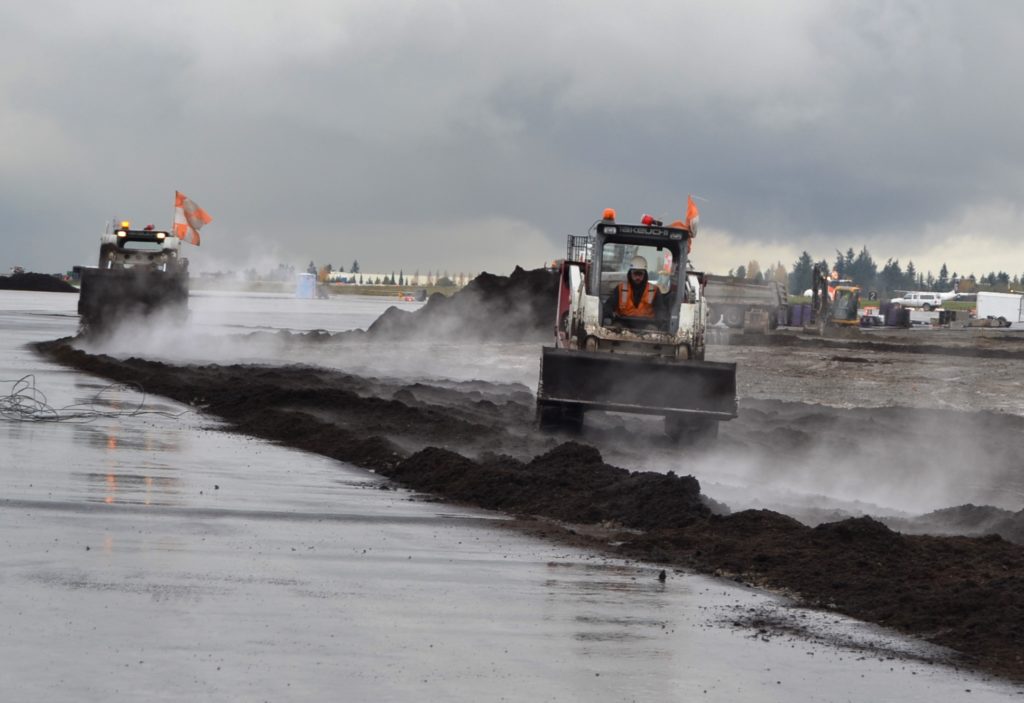
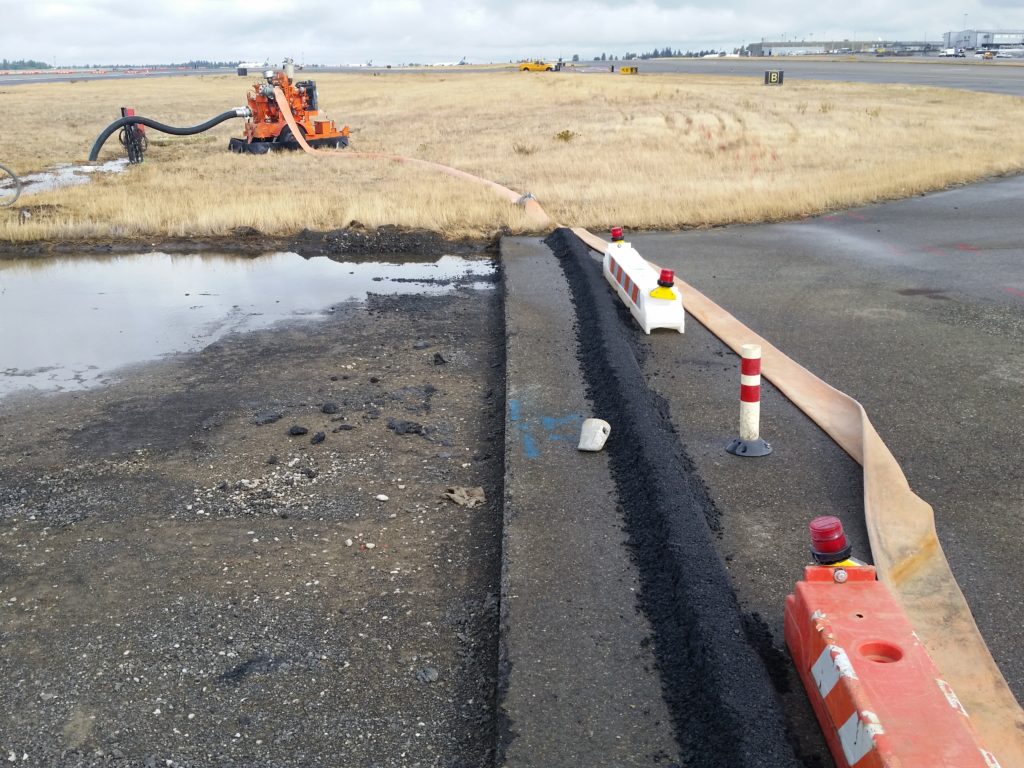
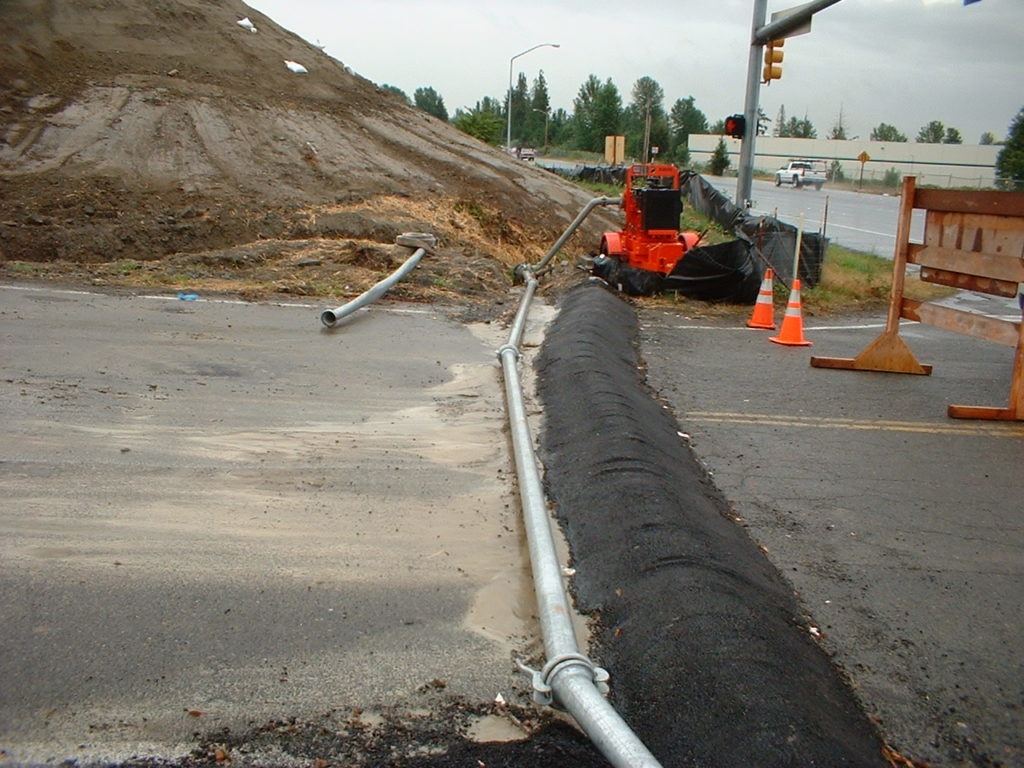
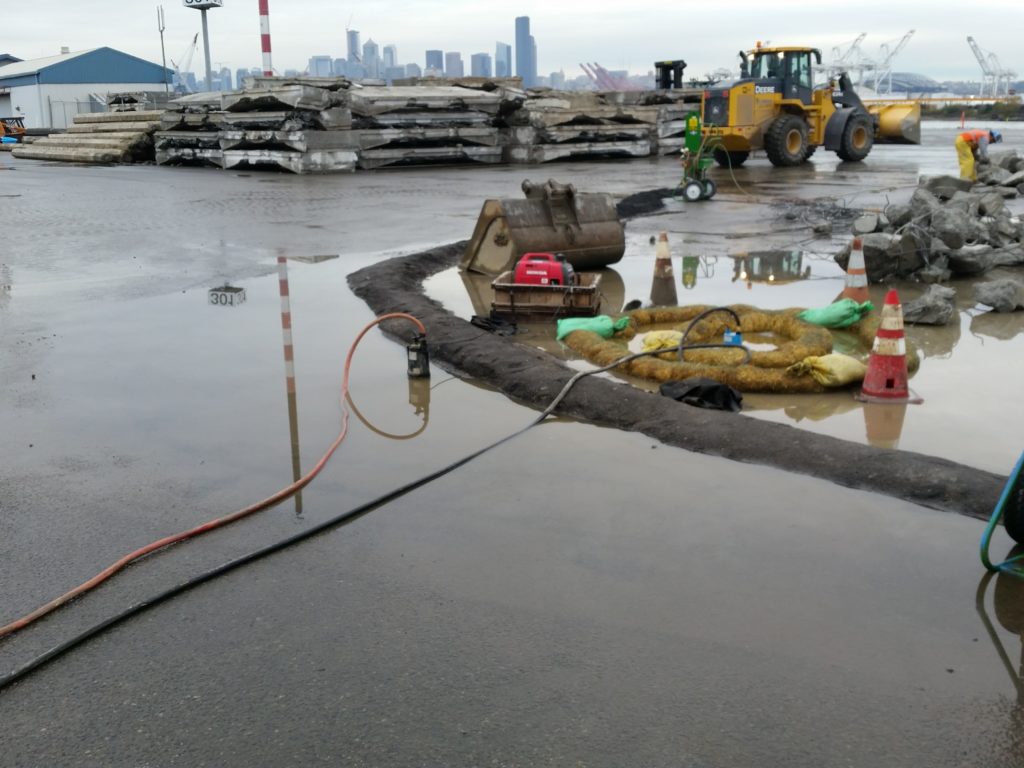
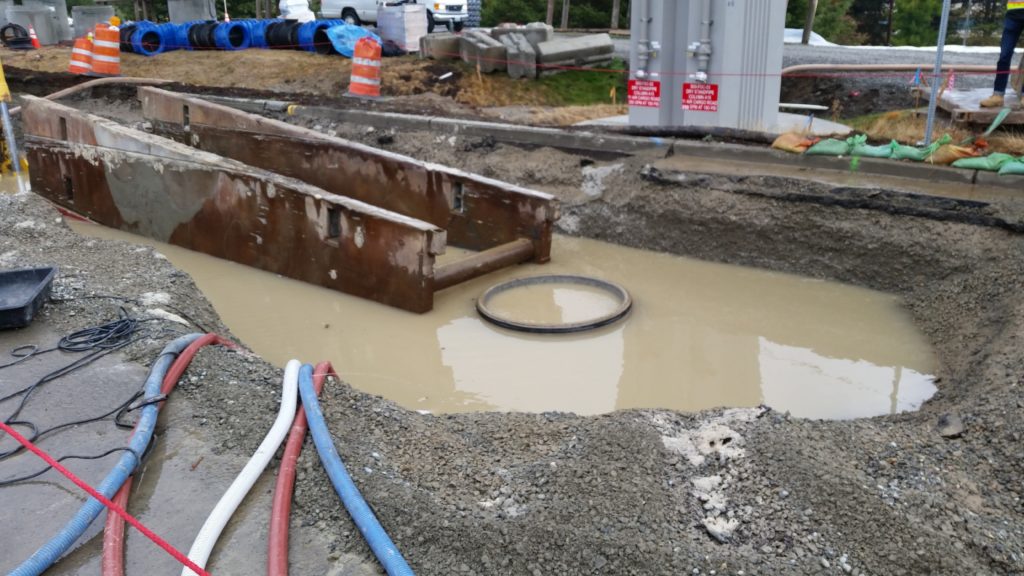
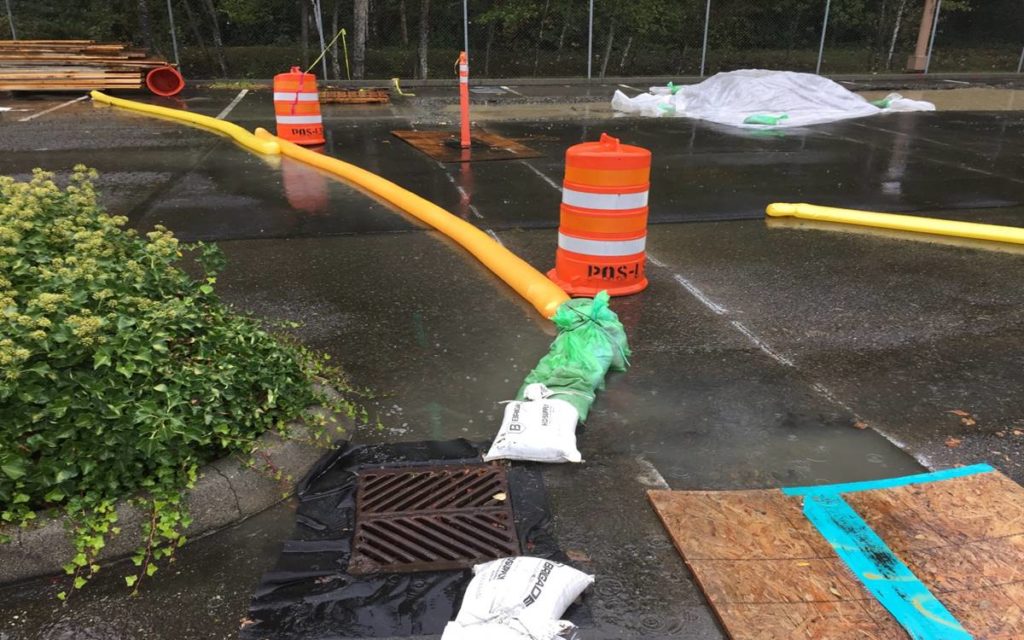
Pump Plug and Infiltration Pond Used to Dispose of Turbid Water-

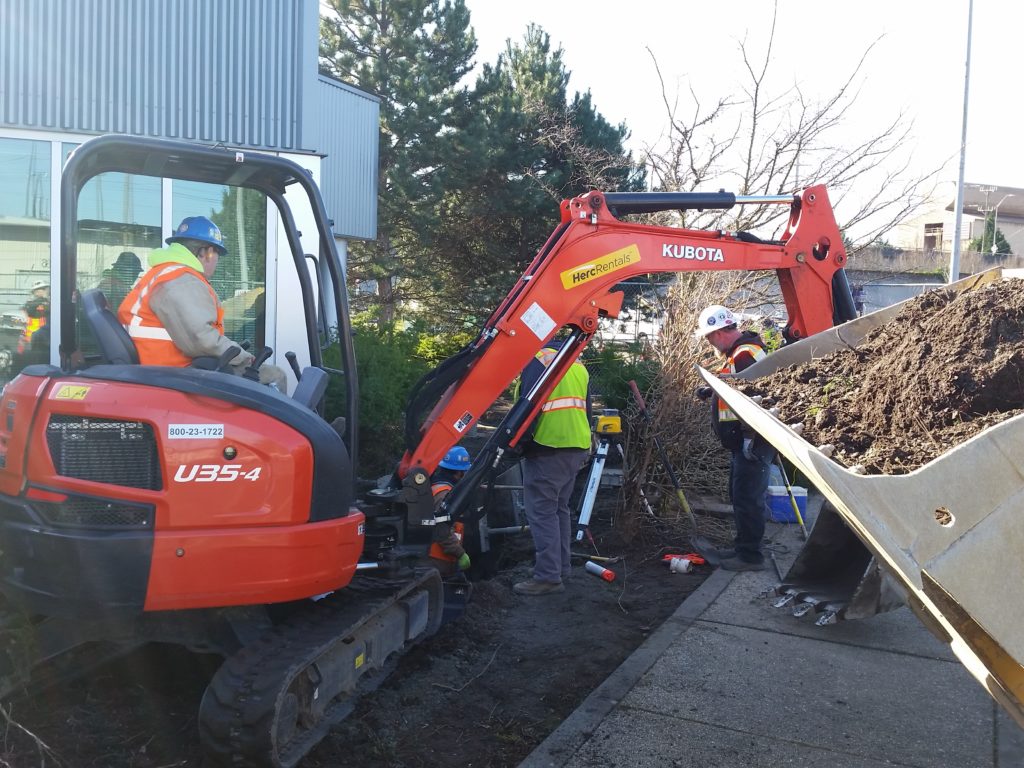
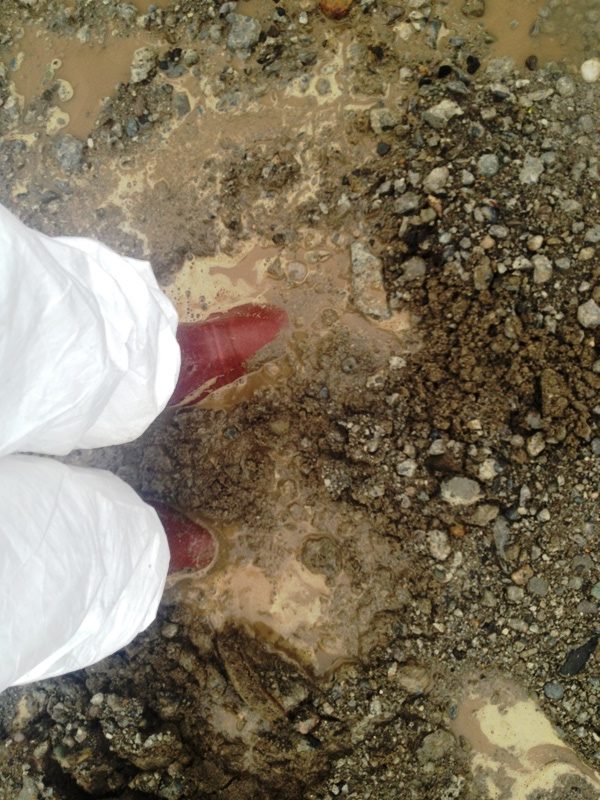
Construction erosion and sediment control means managing storm water until the permanent storm water system is functional.

We managed storm water from this 3 acre site  by pumping turbid runoff to an on-site, infiltration pond.

Video: David Jenkins

June 16, 2016

Paying for TESC

The Best Way to Measure and Pay for TESC in Public Works Contracts

It is a big mistake to make temporary erosion and sediment an “incidental” item in a public works contract. Anything that can be measured should be and set up as a Unit Price item. Planning and Implementation can be lump sum but measurement and payment must be clearly specified. Force Account is set up for unforeseen conditions; the amount is set by the owner so that everyone bids the same number. Make clear at the pre-bid meeting that the Lump Sum bid for planning and implementation covers lots of stuff and they need to bid accordingly. Here is an example of the best way to pay: (more…)

Older Posts »

Powered by WordPress